
Reviving a Terra Cotta Wine Chiller into Aged Home Decor: Thrift Flip Tutorial
**This post contains affiliate links for your convenience. I may earn a small commission if you make a purchase from these links.**
In a world where trends come and go, there's a certain delight in creating something timeless and unique with your own two hands. Imagine taking a piece of history, a terra cotta wine chiller that has seen its share of celebrations, and transforming it into a stunning aged home decor masterpiece. If you're a fan of DIY projects that blend creativity, sustainability, and a touch of vintage charm, you're in for a treat.
Inspired by my recent YouTube video, I will guide you step-by-step through the process of creating a stunning thrifted piece that will undoubtedly impress your guests and perfectly pair with the vintage style of your home.

Want to see more of my Home Decor DIY videos? Watch Here
Follow along to learn How To Thrift Flip A Terra Cotta Wine Chiller Into An Aged Terra Cotta Home Decor Piece.
Below is a list of the items you will need to recreate this project:
Thrifted Terra Cotta Wine Chiller
Cornstarch
Paper Towel
*Product can be purchased directly through my website [www.juliesdesignsandsigns.com]
I always thrift these terra cotta wine chillers when I see them for a good price because they make great planters!

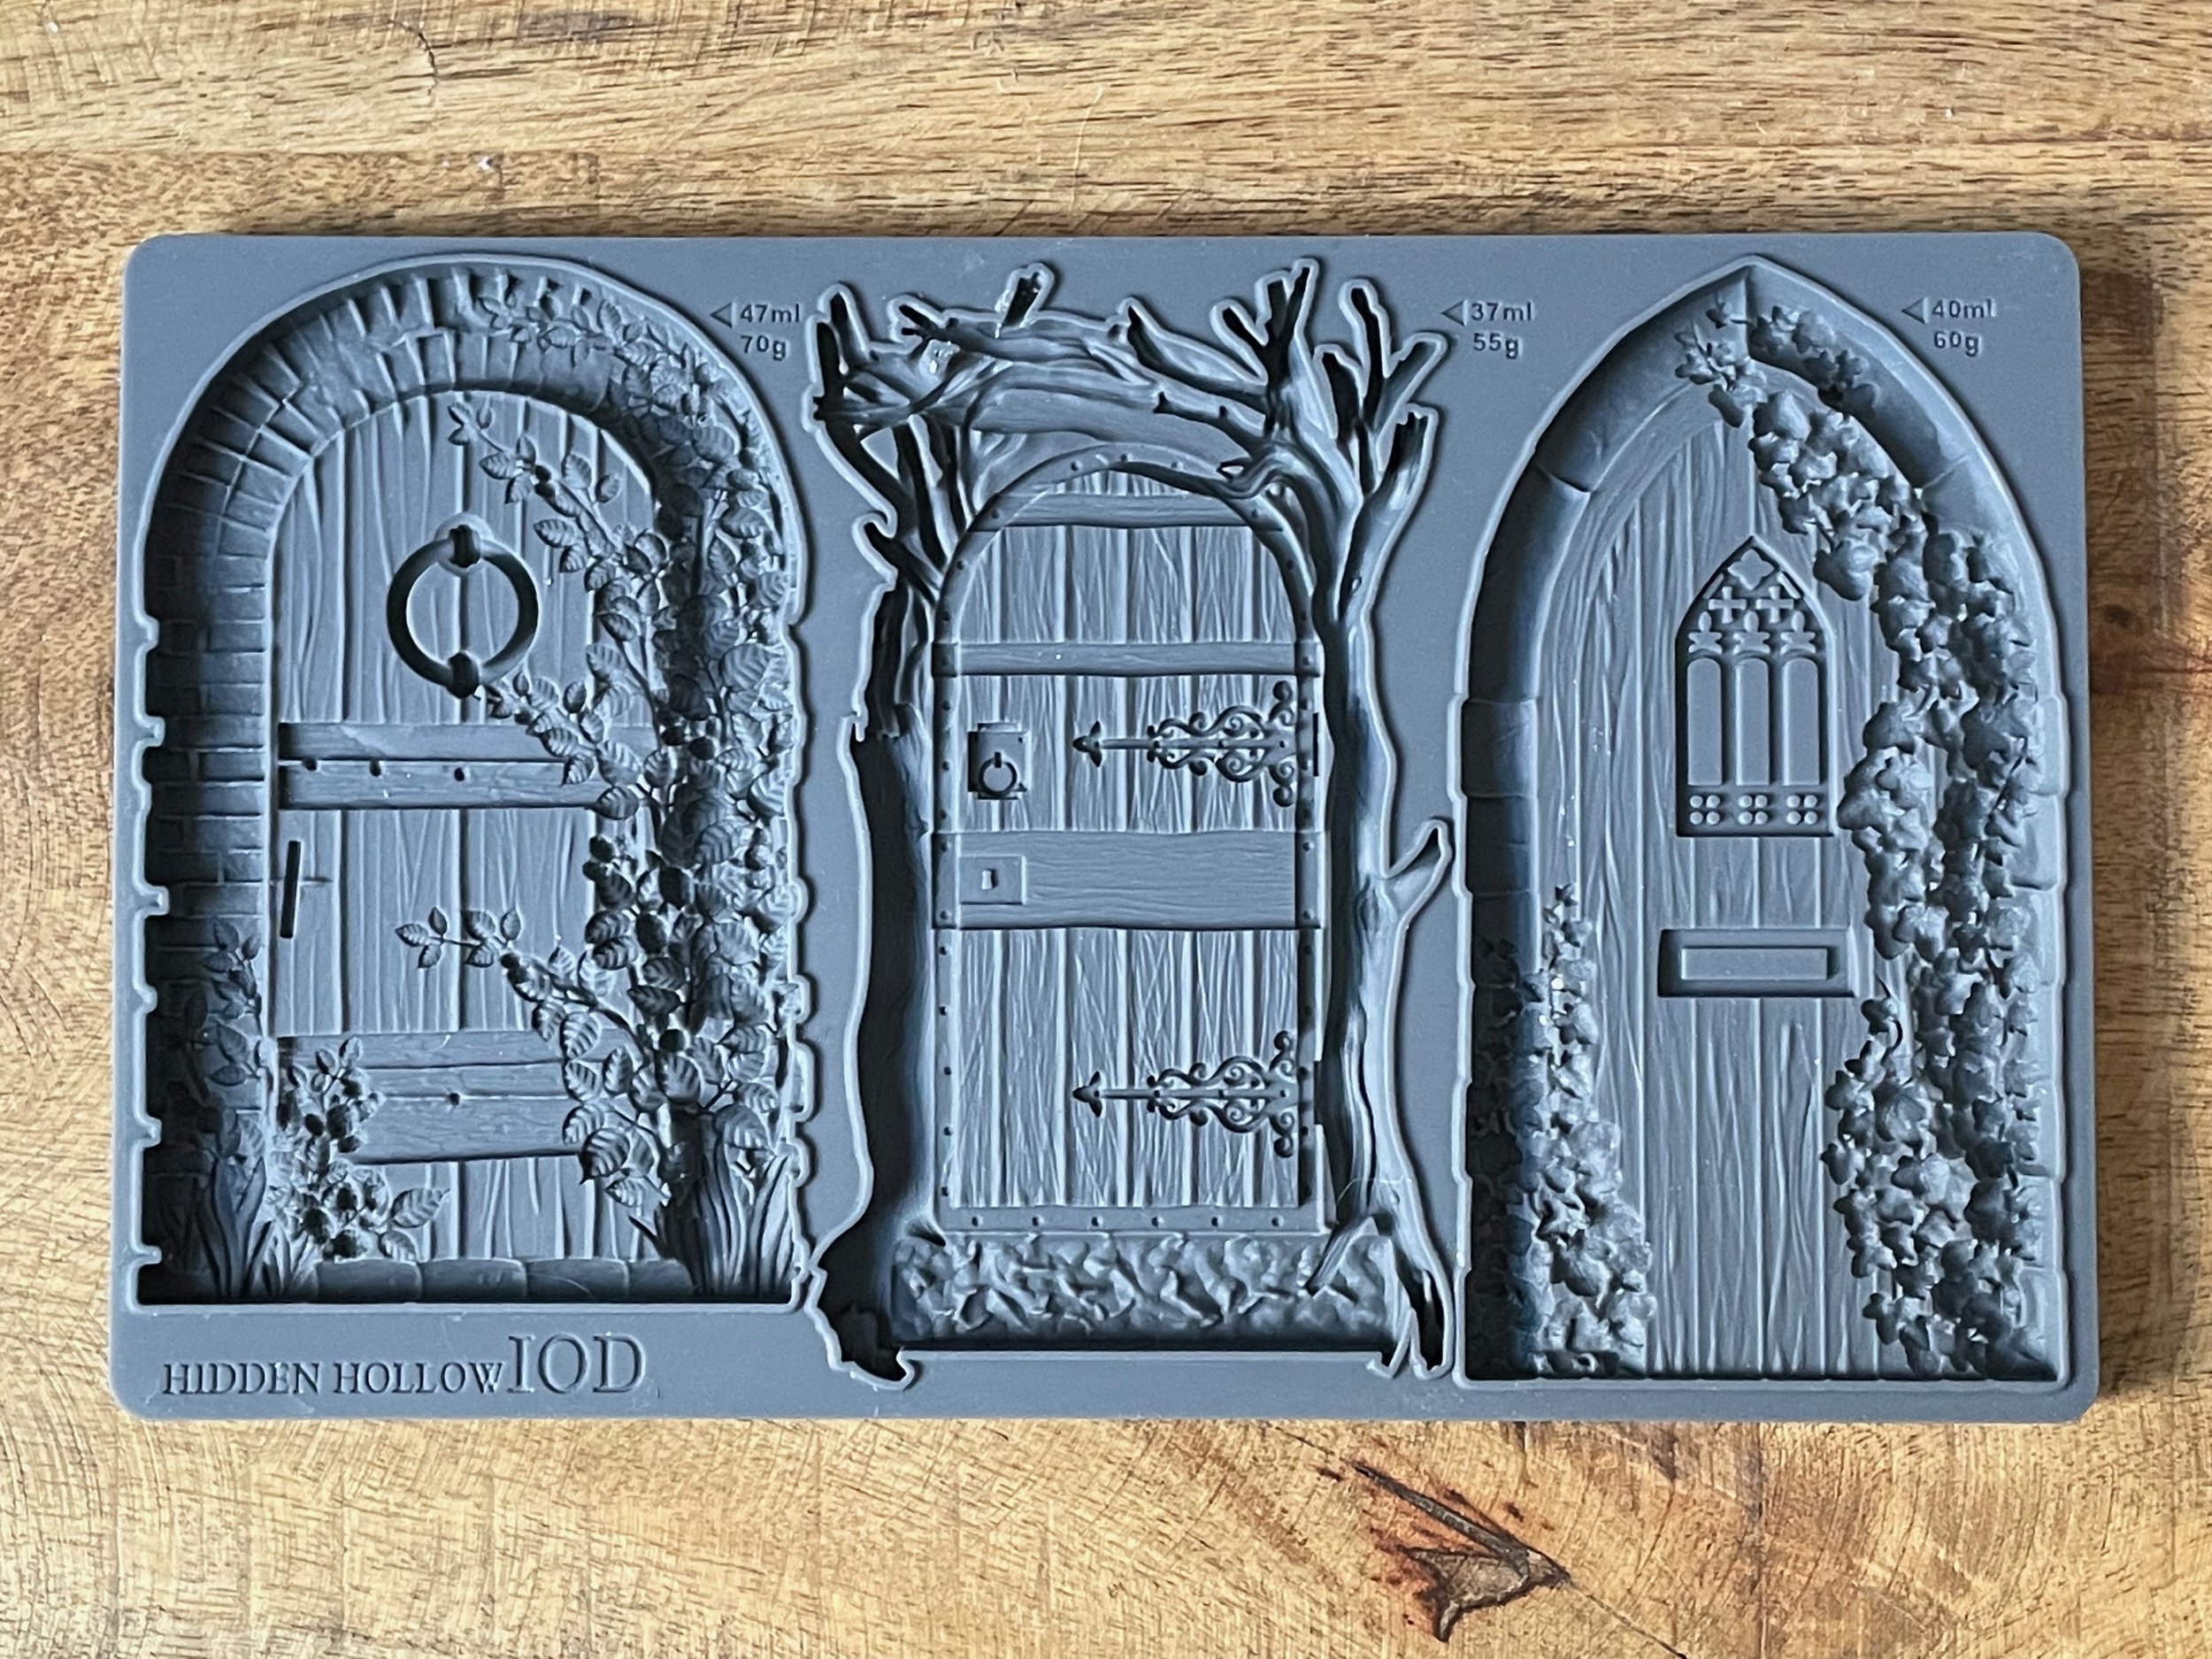
I started by using the IOD Hidden Hollow Moulds to create a clay door that I will be attaching to the terra cotta wine chiller.

DIY Tip: When you use an IOD mould you will want to brush it with cornstarch first so that the clay easily peels out of the moulds.
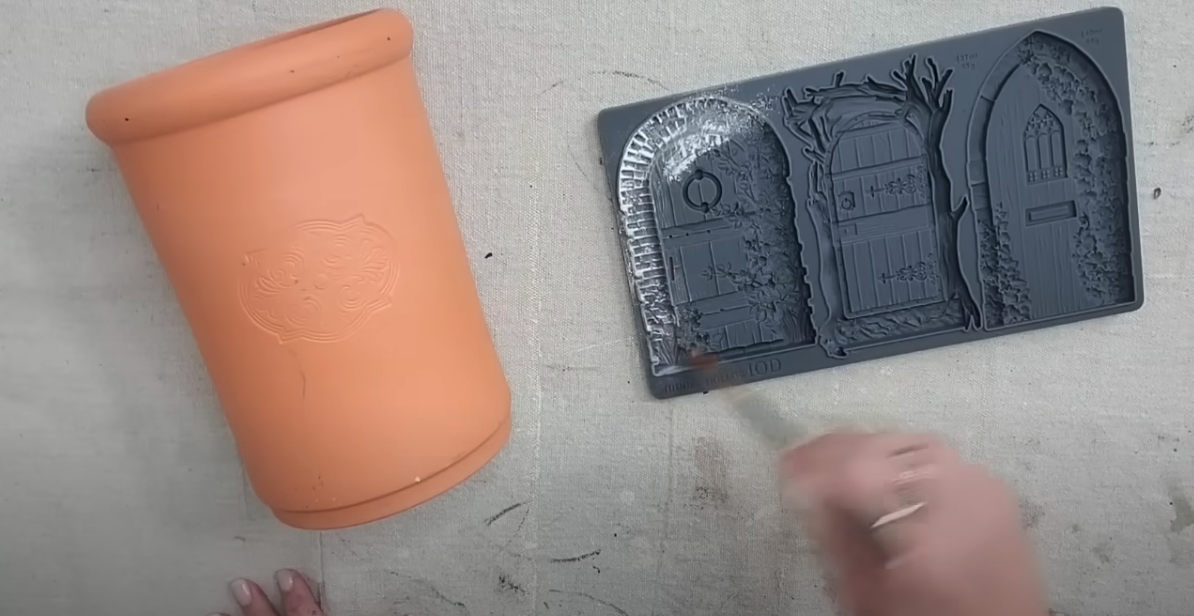
Next, I pushed IOD Air Dry Clay into the mould.


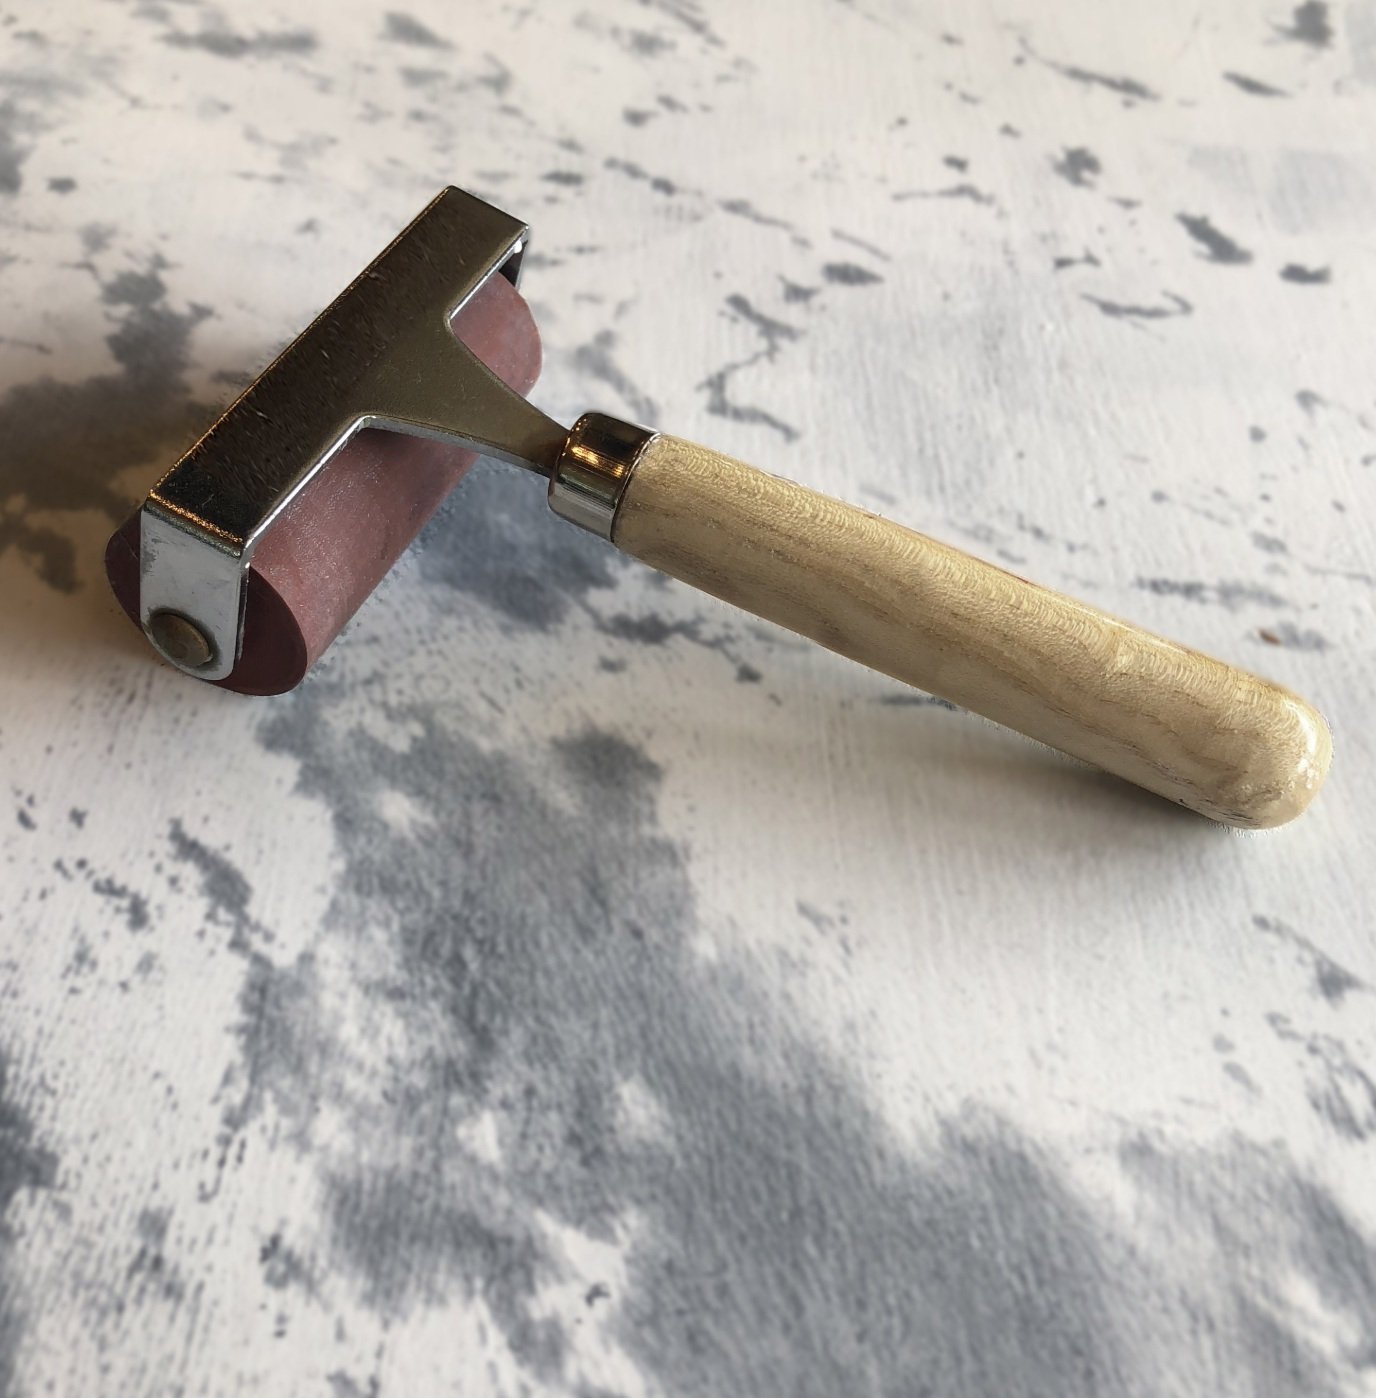
To ensure that the back is at flat as possible, I decided to run my IOD Brayer over the top of the clay while it was in the mould.

To remove the clay from the mould, I wiggle it a little bit and then very carefully remove it.
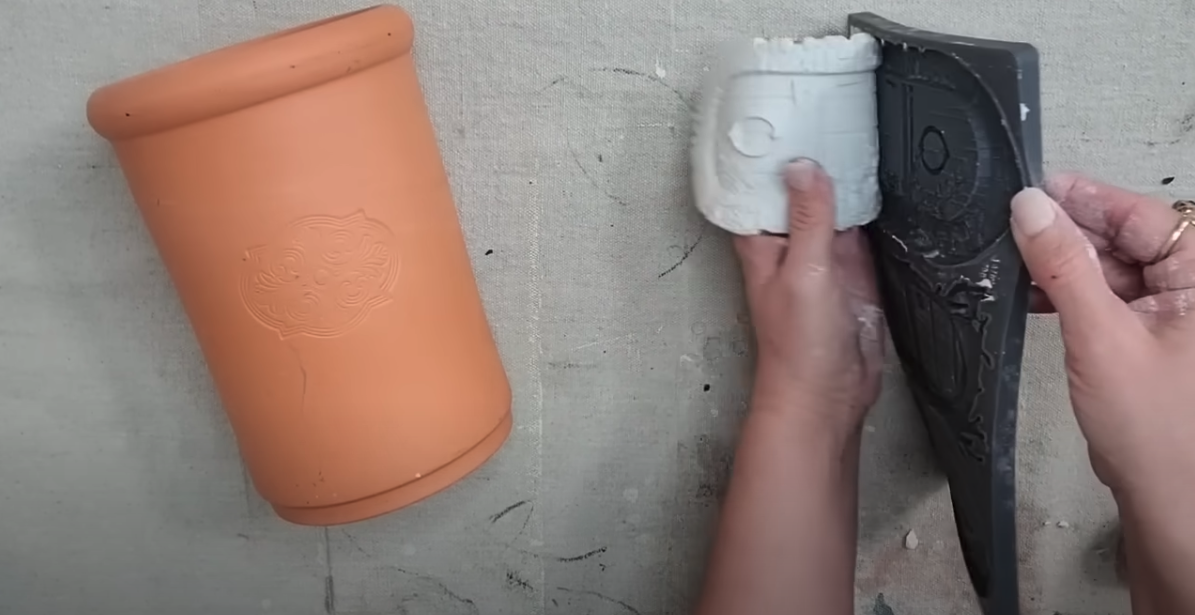
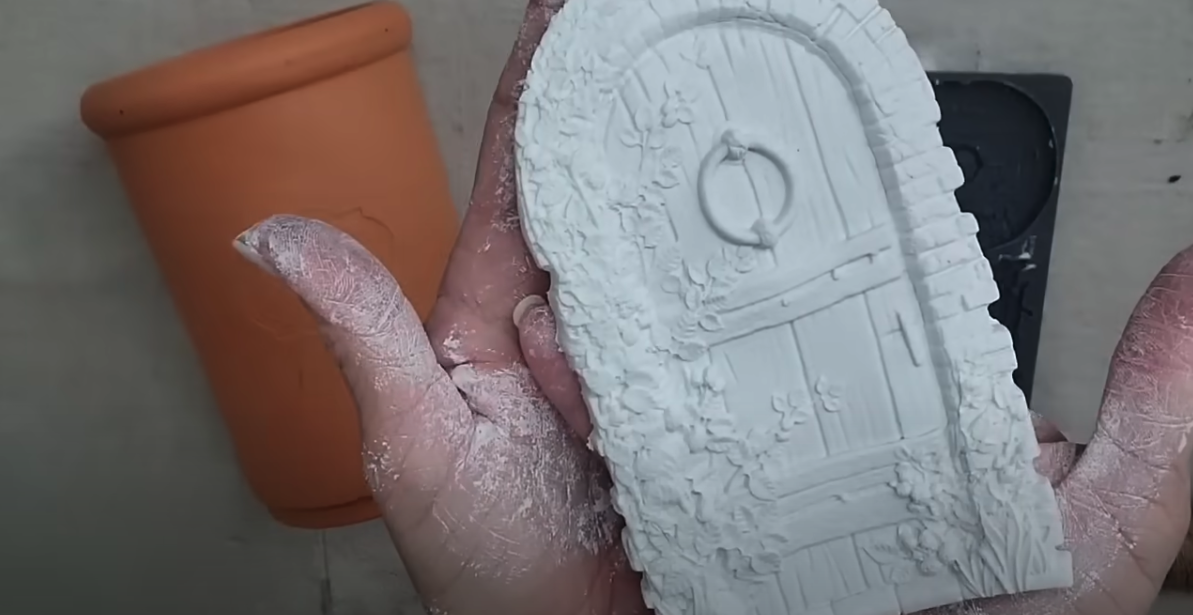
Look at all of the detail on this clay door! The IOD Stamps leave such beautiful impressions!
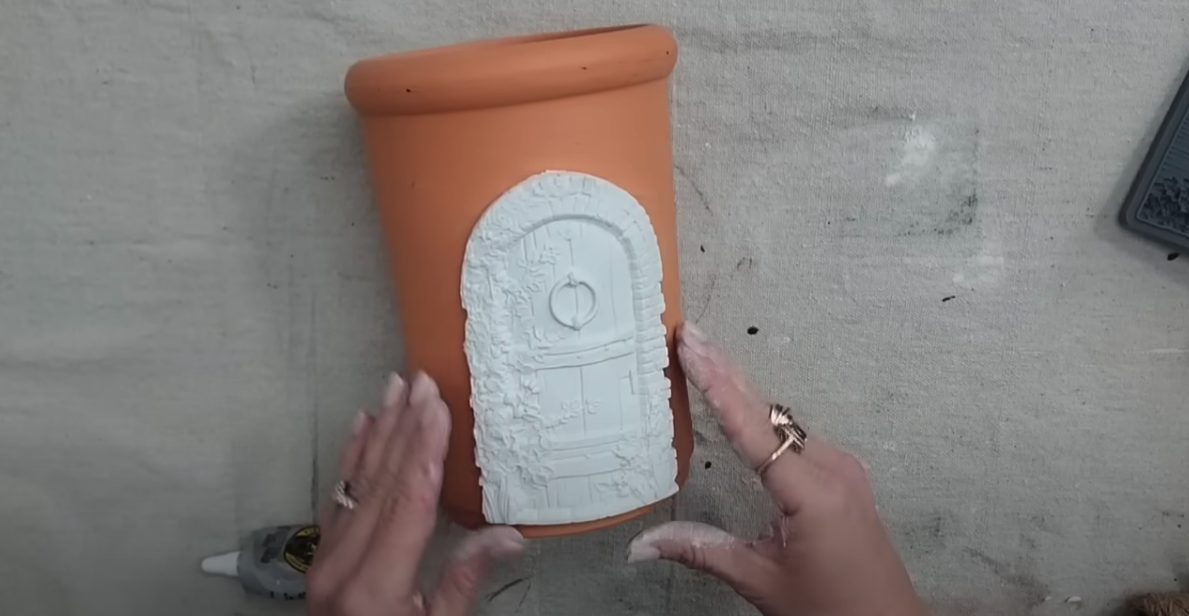
While the clay is still wet, I use Gorilla Glue to attach the clay to the terra cotta pot. This method allows the clay to dry to the curvature of the pot.

Since this pot is pretty big, I decided to add another clay piece.
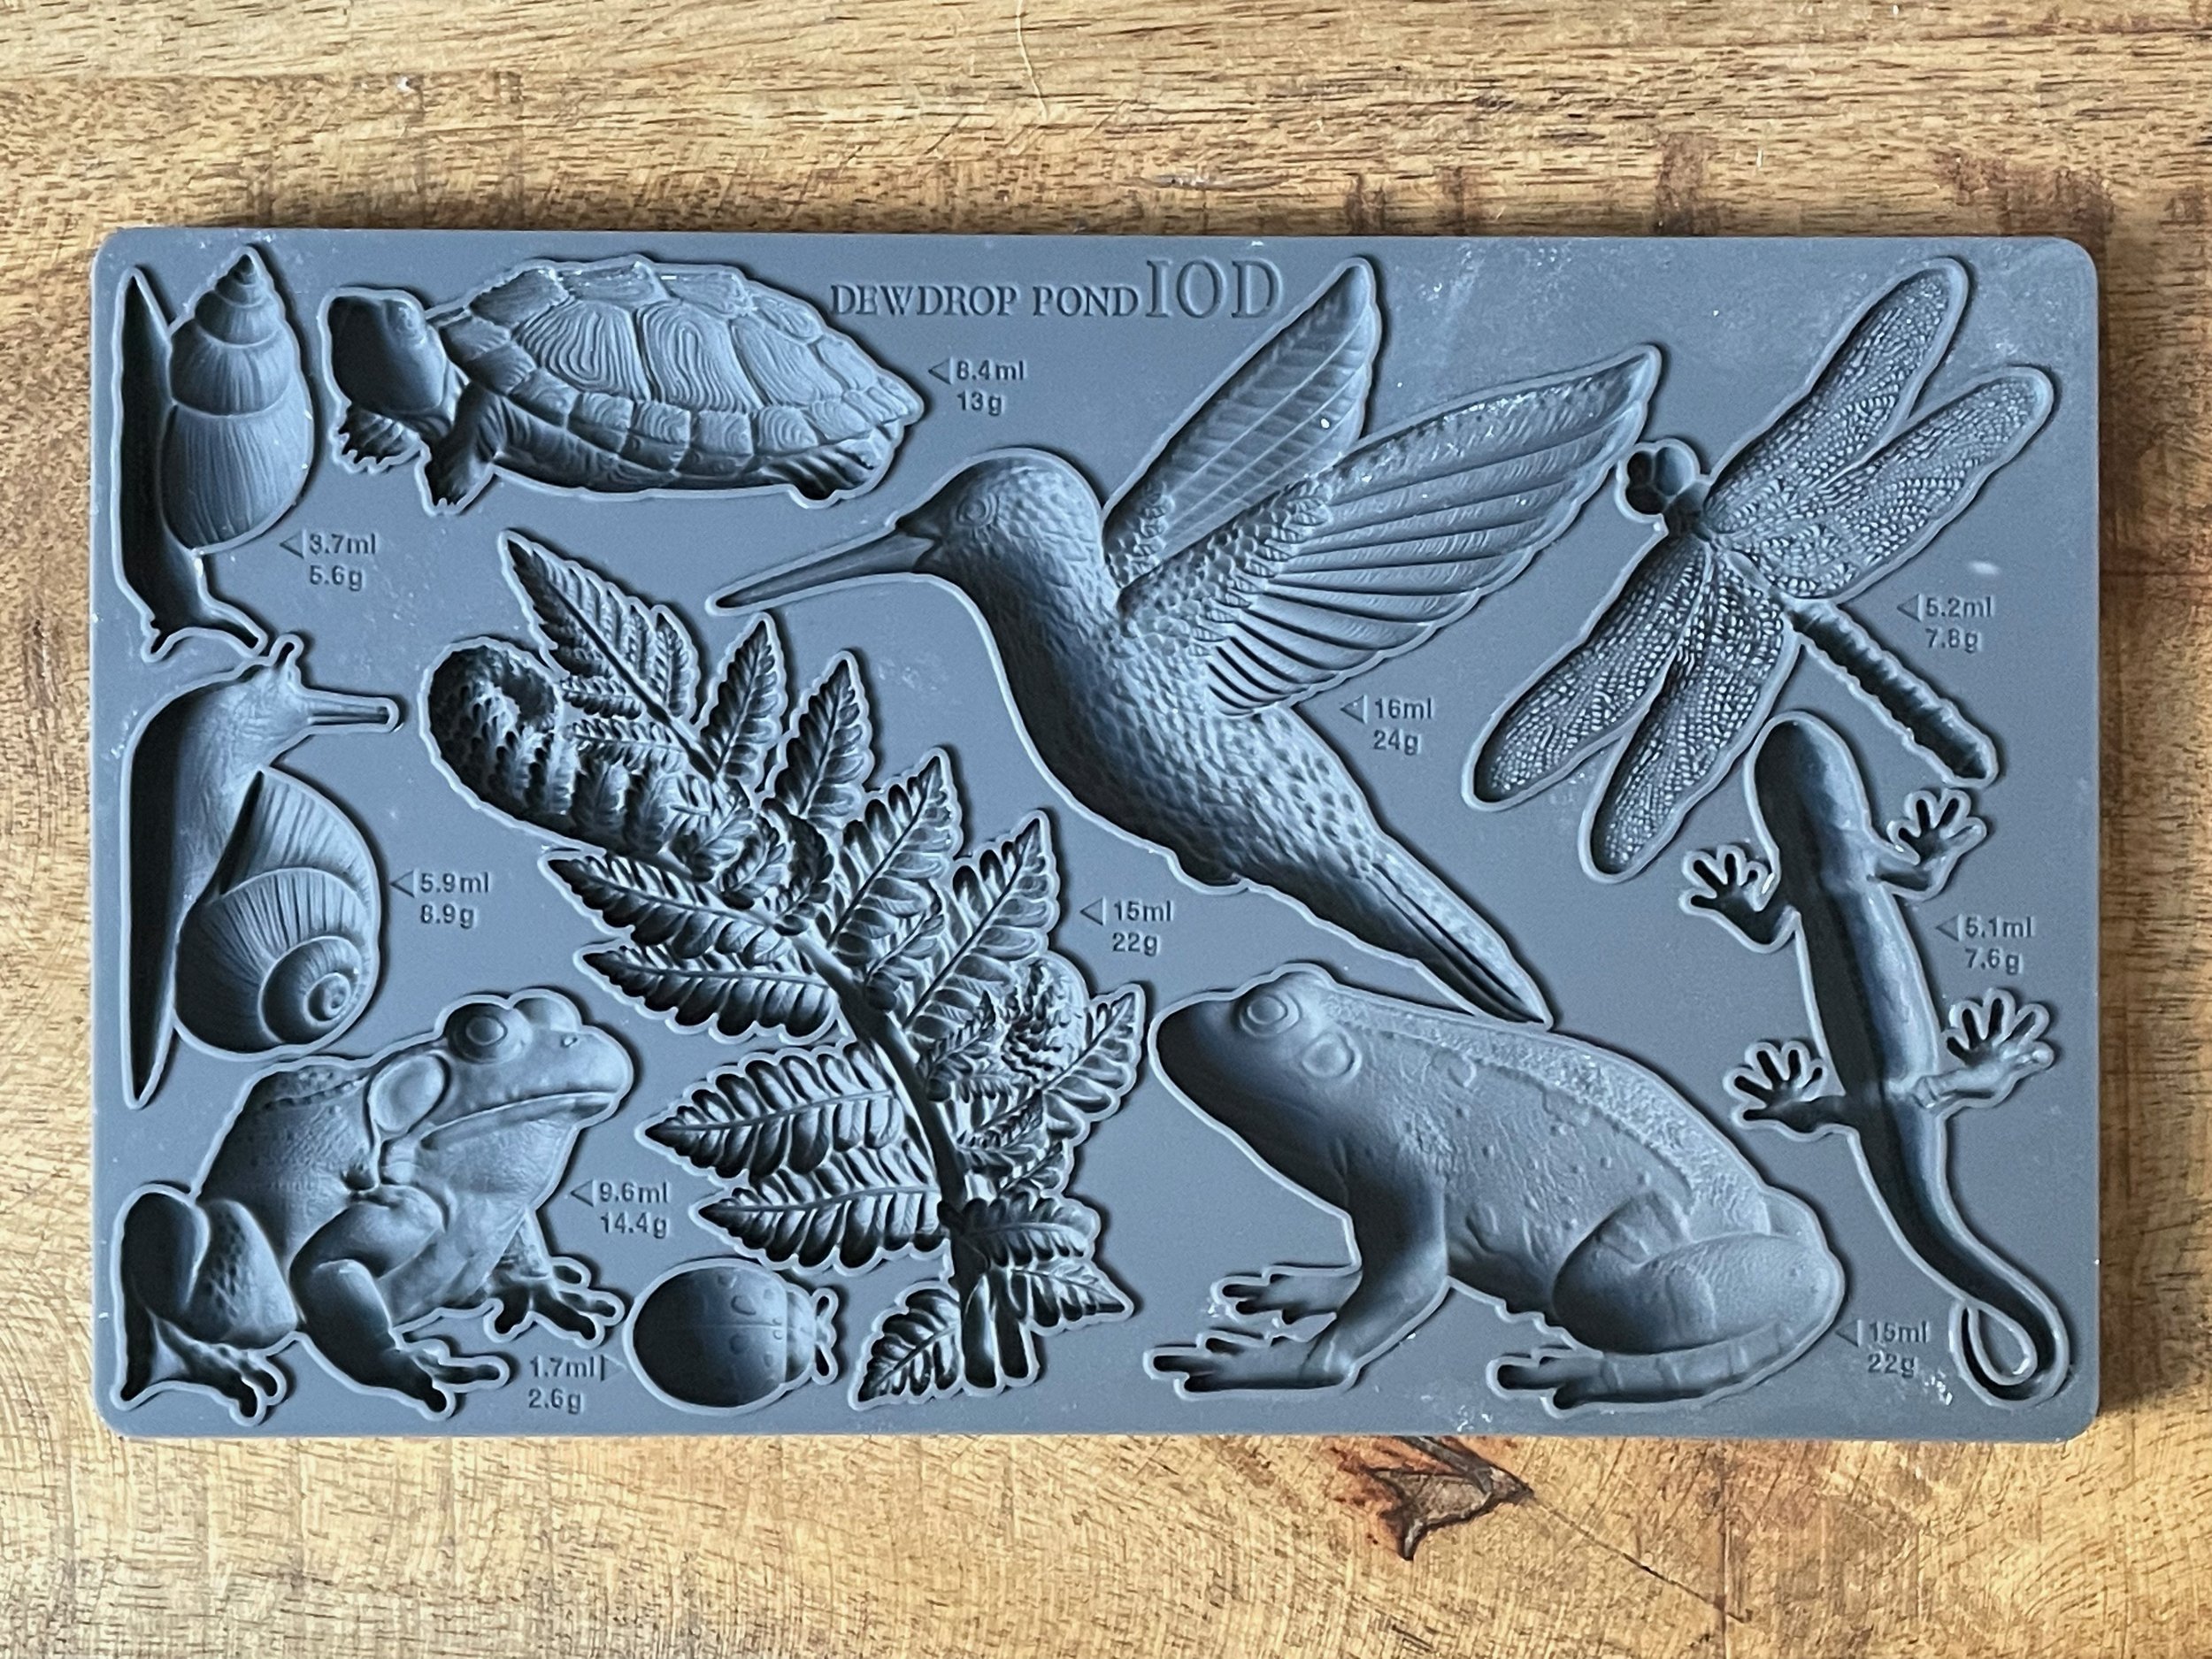
I used the IOD Dewdrop Pond Mould this time to create a snail clay mould.

How cute is that!
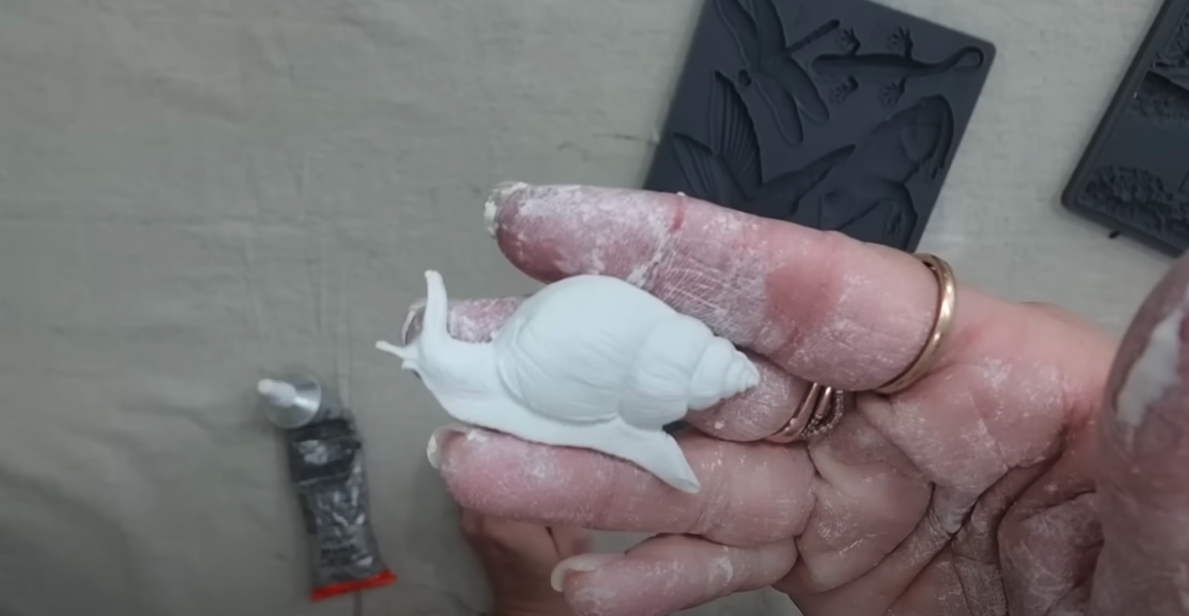
Using gorilla glue, I attached the clay snail to the pot.
If you feel like your clay is sliding down the side of your pot, you can use painter’s tape to keep the clay in place while it dries.

I was so excited with how my first pot was coming along so I decided to grab another terra cotta wine chiller from my stash and create a second pot!

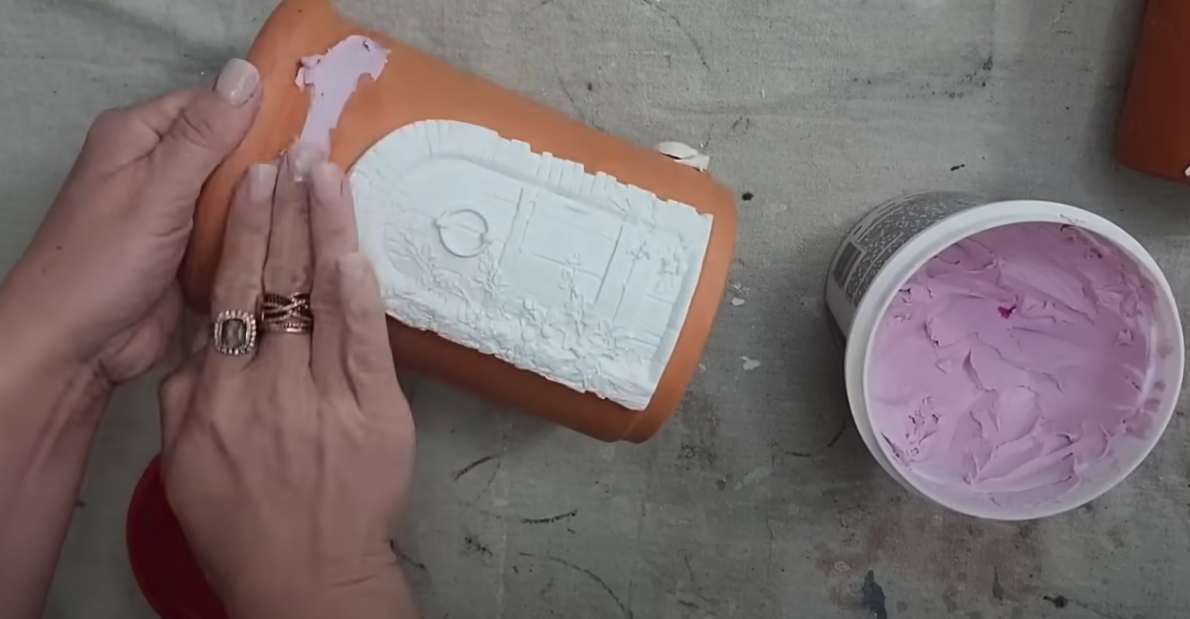
For this one, I am going to use the middle door from the IOD Hidden Hollow Mould.

Like before, I coated the mat in cornstarch and then pushed the IOD Air Dry Clay into the mould.

How cool is that!

Once again, I used my gorilla glue to attach the clay door to the terra cotta pot.

I waited a few hours for the clay to dry before I moved onto the next step.
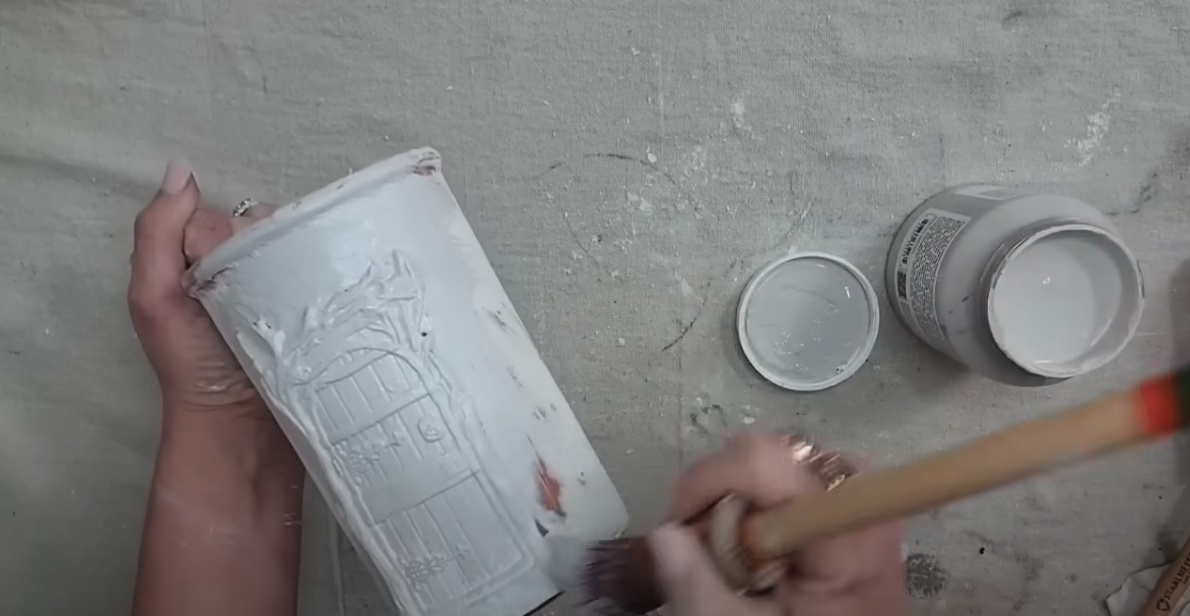
Next, I covered the entire terra cotta pot with spackle. I have become obsessed with this look after using it for another DIY project!
[RELATED VIDEO: How To Age A Terra Cotta Pot 3:15]
You can use spackle or joint compound to achieve this look.
I like to use the purple spackle that turns white when it is dry.

To apply the spackle, I used my fingers and rubbed it onto the pot in a circular motion. The goal is to give the pot a textured look.
Then you will let it dry.
Once it is dry, you are going to sand it. Lightly sand the piece so that you get rid of some of the peaks. However, you don’t want to sand it so much that you lose all of the texture.


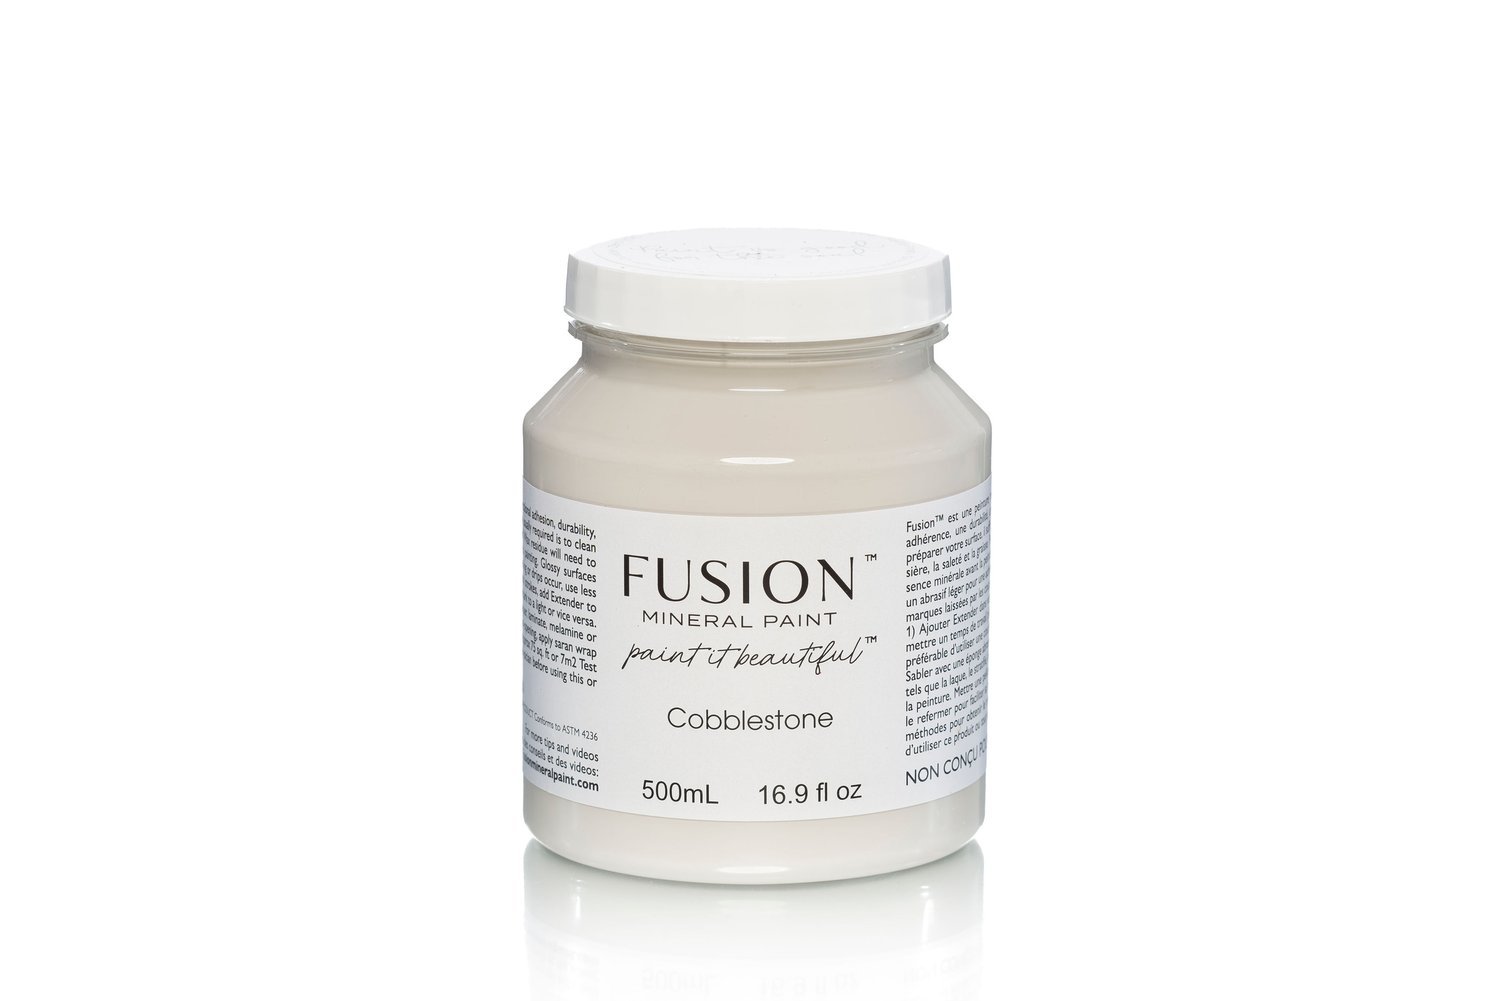
Next, I want to paint the terra cotta pot to give it a more cohesive look.
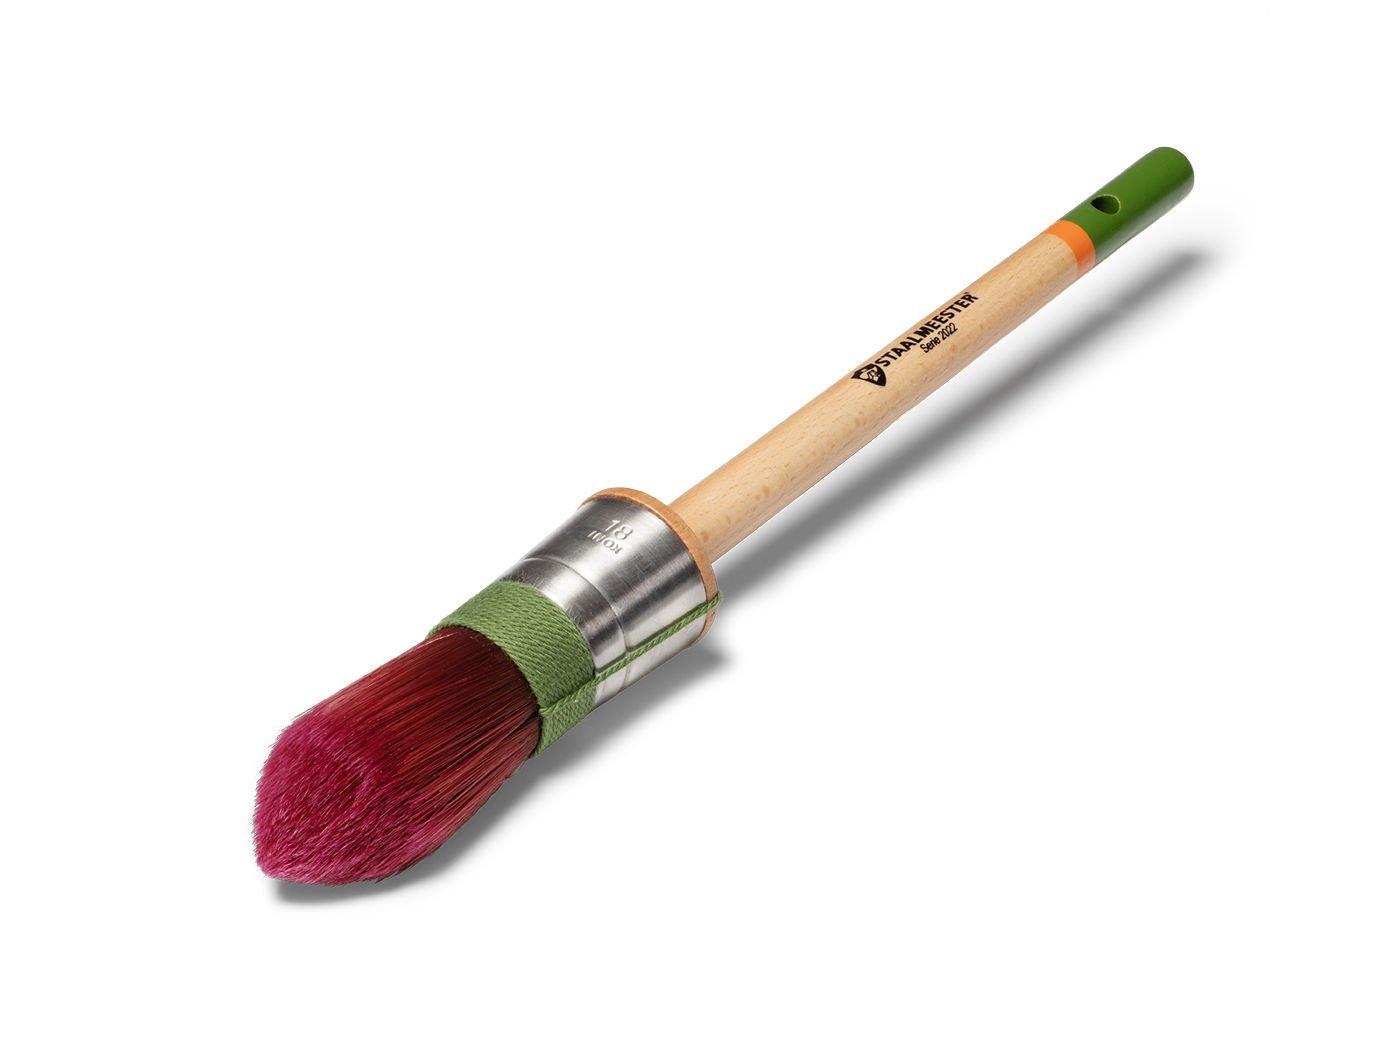
I used Fusion Paint in the color Cobblestone and a STAALMEESTER Pointed Sash Brush.

Using a STAALMEESTER Pointed Sash Brush, I painted over the entire pot with one coat.
You do not have to paint full coverage.
Because we are going for an antique look, I was okay with some of the terra cotta and white spackle color showing through.
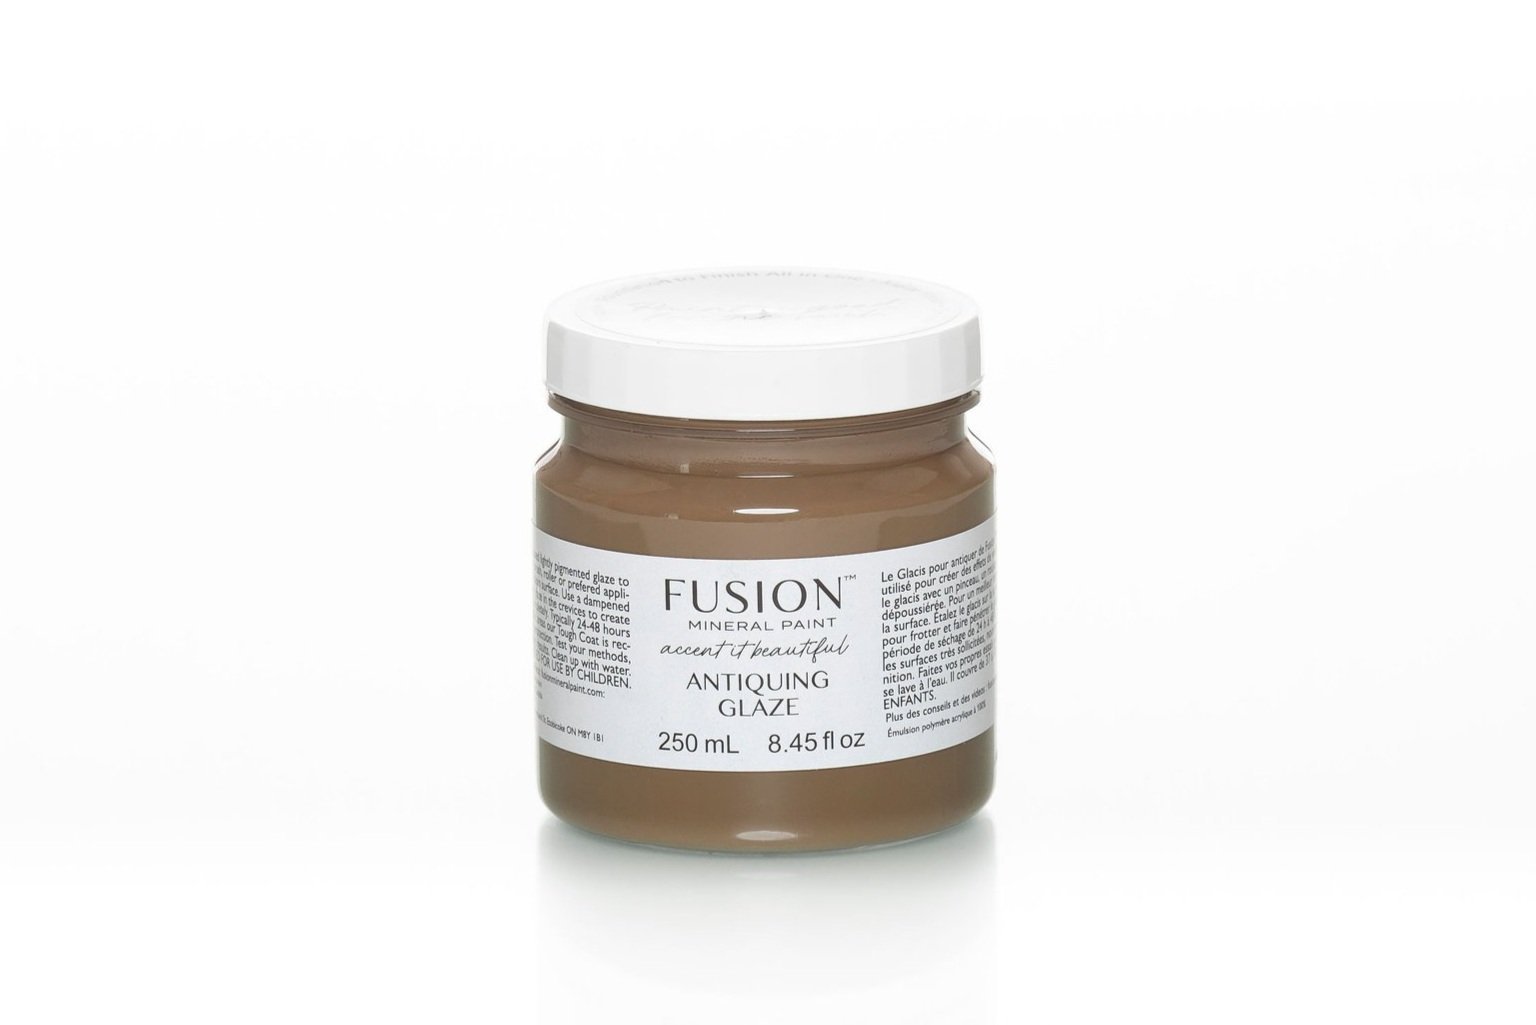
To achieve the antique look I was going for, I covered the entire pot with Fusion Antiquing Glaze.
The Antiquing Glaze will bring out all of the details and texture on the pot.

Lastly, I used a dry paper towel to wipe off the Antiquing Glaze.
This method will give it an aged pottery look!

If you are also thrift flipping two terra cotta wine chillers, you can follow the steps above again to finish your second pot.


And that’s it!
Are you ready to give this DIY project a try yourself?
Comment below and let us know which IOD stamp you use on your terra cotta wine chiller!
As always, subscribe to my YouTube channel so you never miss one of my DIY videos.
You can watch me create this project and many others like it here: https://youtu.be/lJmnSpZ_Hok
Click the image to shop

Don’t forget to join the Colors of the Month Club to receive (4) sample Fusion Paint colors picked by me that are perfect for the current season! → Click here to learn more
Like what you see? Be sure to join our mailing list for weekly DIY Ideas, thrift flips, new product alerts, video announcements, live events & more!
DISCLAIMER: This blog post may contain affiliate links. If you purchase a product or service with the links provided I may receive a small commission. There is no additional cost to you. Thank you for supporting my blog so I can continue to provide you with free content each week!