
How To Create A Floral Arrangement Using IOD Transfers & IOD Stamps
**This post contains affiliate links for your convenience. I may earn a small commission if you make a purchase from these links.**
Tired of breaking the bank for faux floral arrangements? You're not alone. While the allure of vibrant blooms can instantly elevate any space, the hefty price tags at stores like Hobby Lobby or Walmart can empty your wallet real quick.
To keep things a bit more affordable, don’t forget that you can find faux floral of all kinds at your local thrift store, garage sales, or estate sales. Sometimes, all it takes is a little creativity and resourcefulness to breathe new life into forgotten floral pieces. Whether it's dismantling an old arrangement or discovering hidden gems amidst the bargain bins, the possibilities are endless.
In this blog, I will show you How To Create A Floral Arrangement Using IOD Transfers & IOD Stamps!
Below is a list of the items you will need to recreate this project:
Thrifted Pots and Buckets
Mixing Cup
Water
*Product can be purchased directly through my website [www.juliesdesignsandsigns.com]
I always thrift this style of container when I see them at the bins. They may not have floral in them but they do already have the foam so half the work is already done for me!
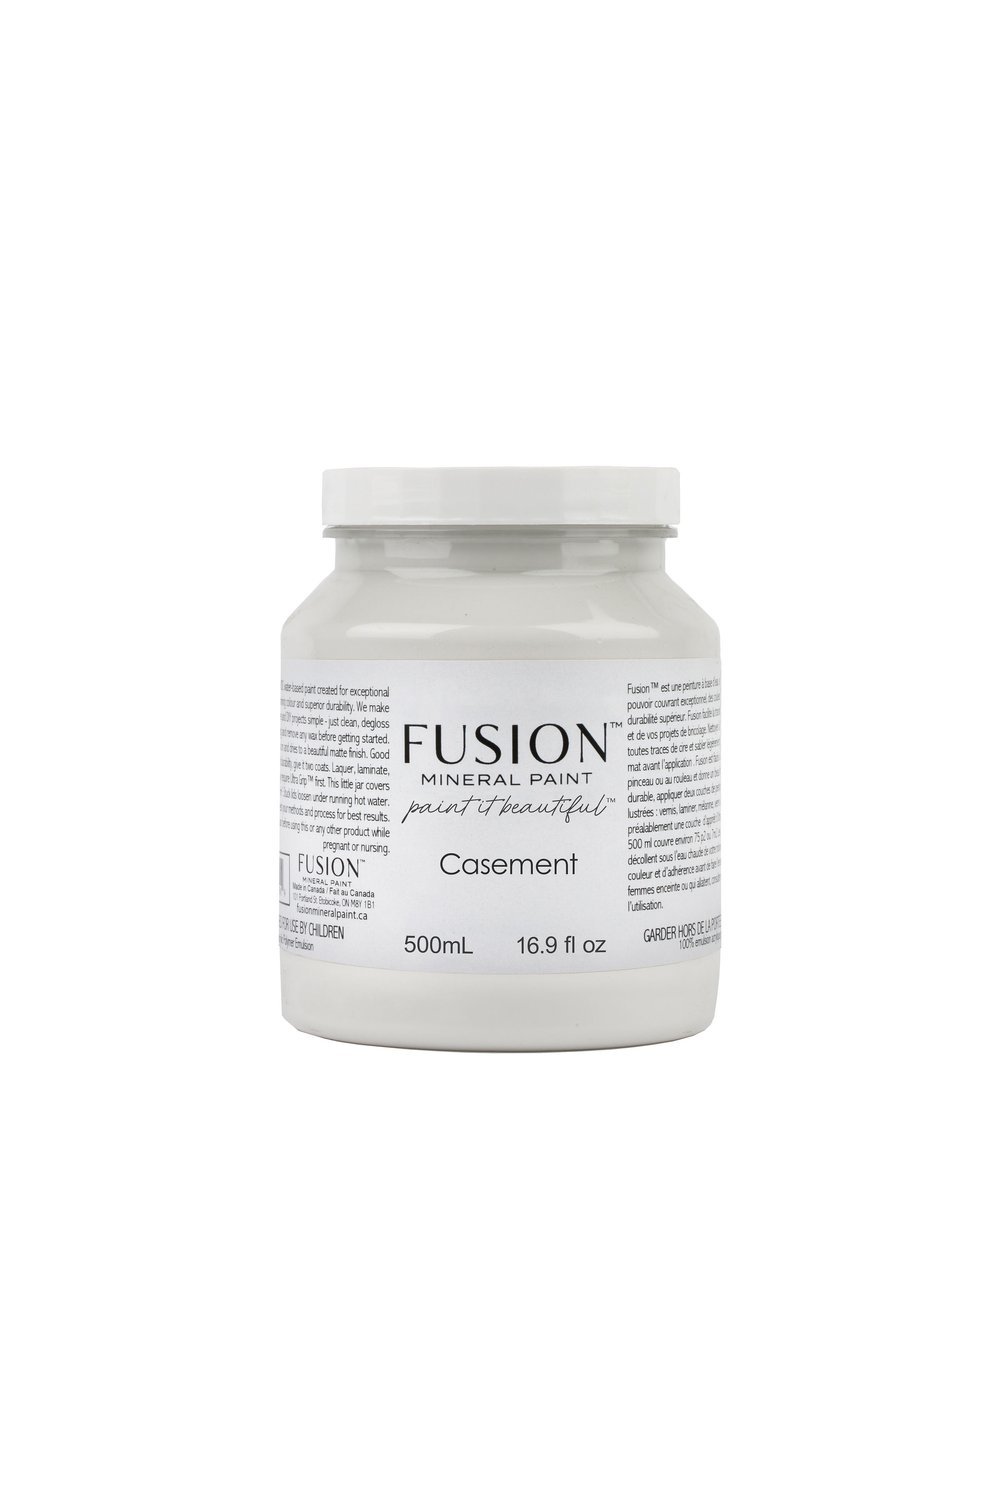
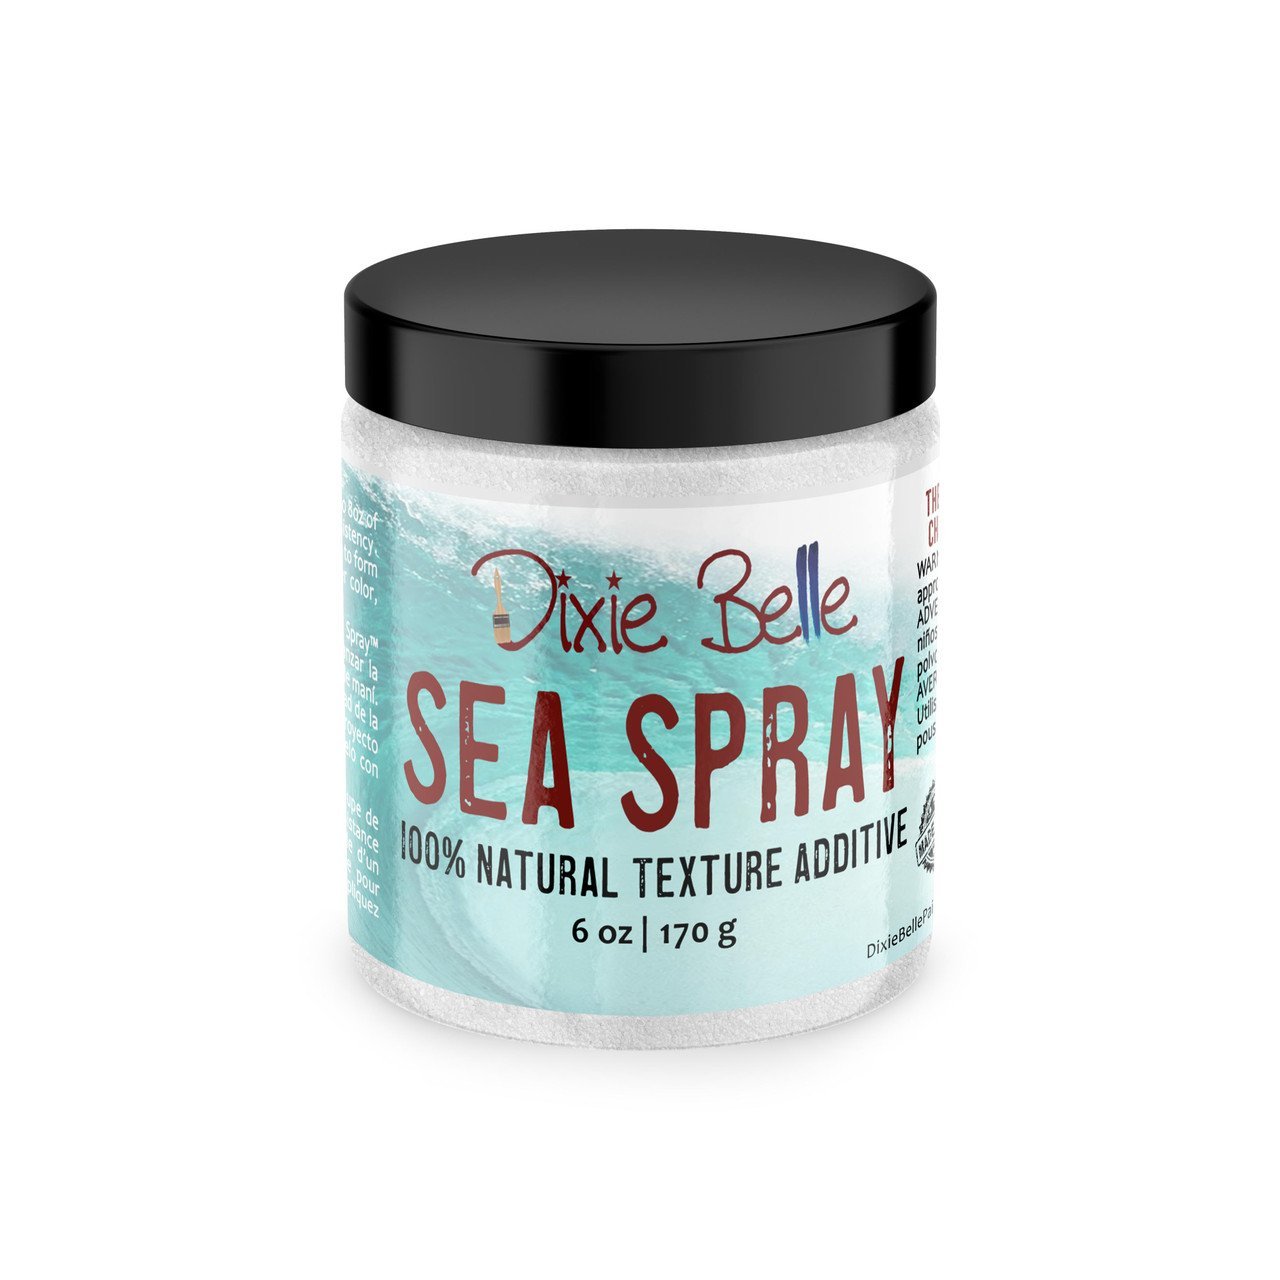
First, I used Fusion Mineral Paint in the color Casement and Dixie Belle Sea Spray to add some textured paint to the galvinized tin container.
How much you mix just depends on what look you are going for. If you want a little bit of texture, add a little bit of sea spray.
I wanted a lot of texture so I did half sea spray, half paint!
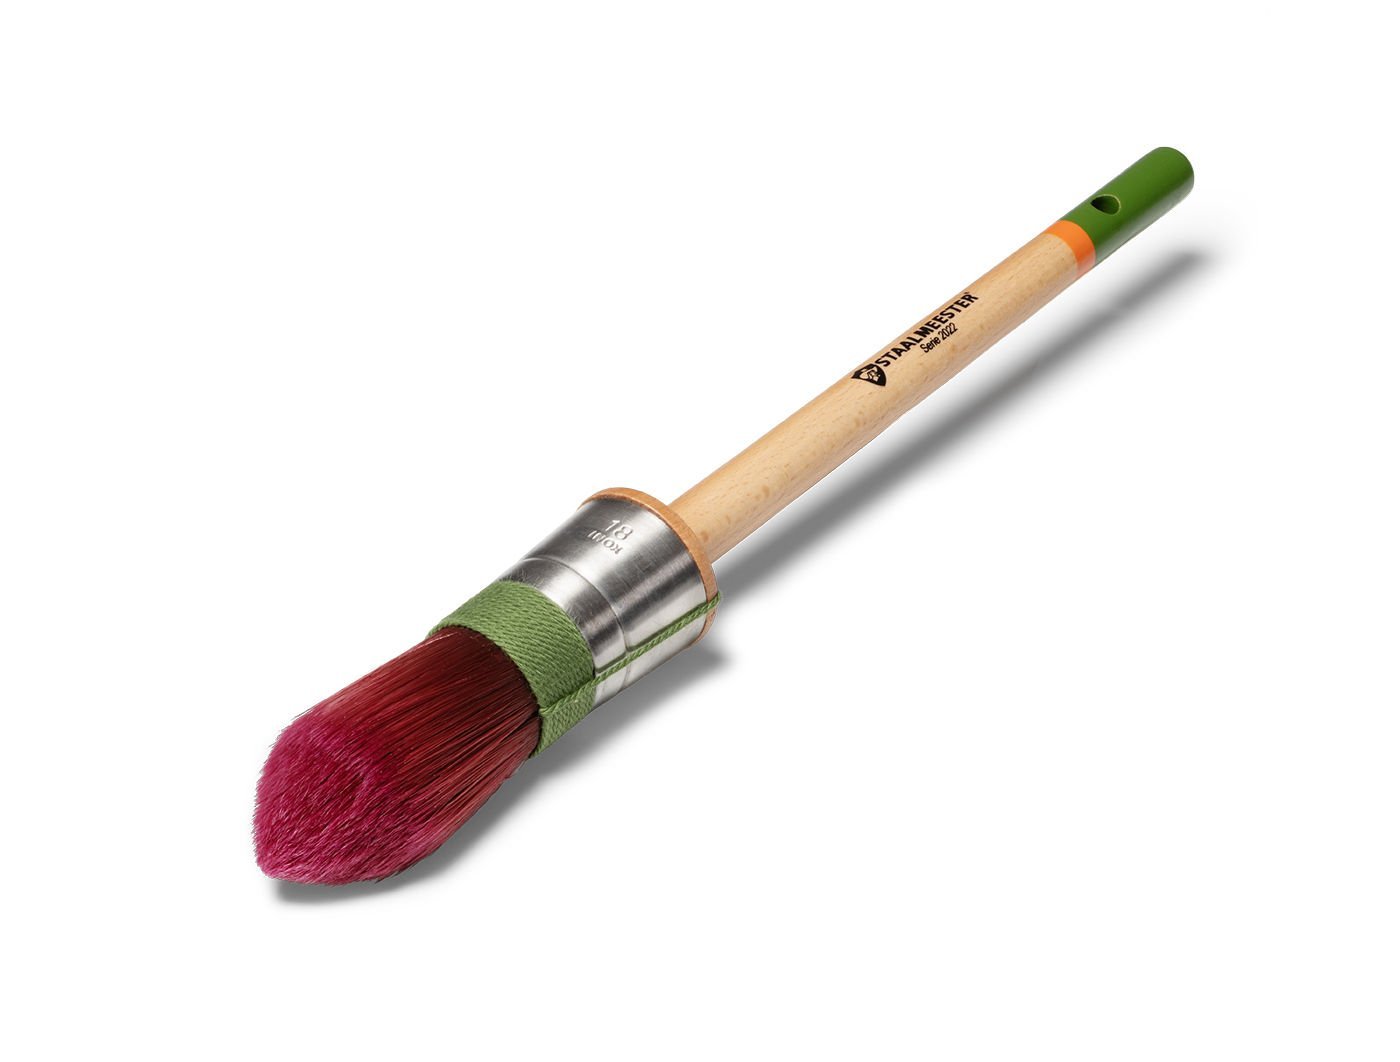
Then, I used my STAALMEESTER Pointed Sash Brush to brush the paint onto the container.
For the smaller pot, I used a stipple technique to make the paint appear more textured.
You can see how I do this in the video HERE (go to 11:30): https://youtu.be/PZgabz3DPjQ?si=AaKTEFwTBtSXSZxs
I applied 2 coats to the tin. You can see all of the texture!
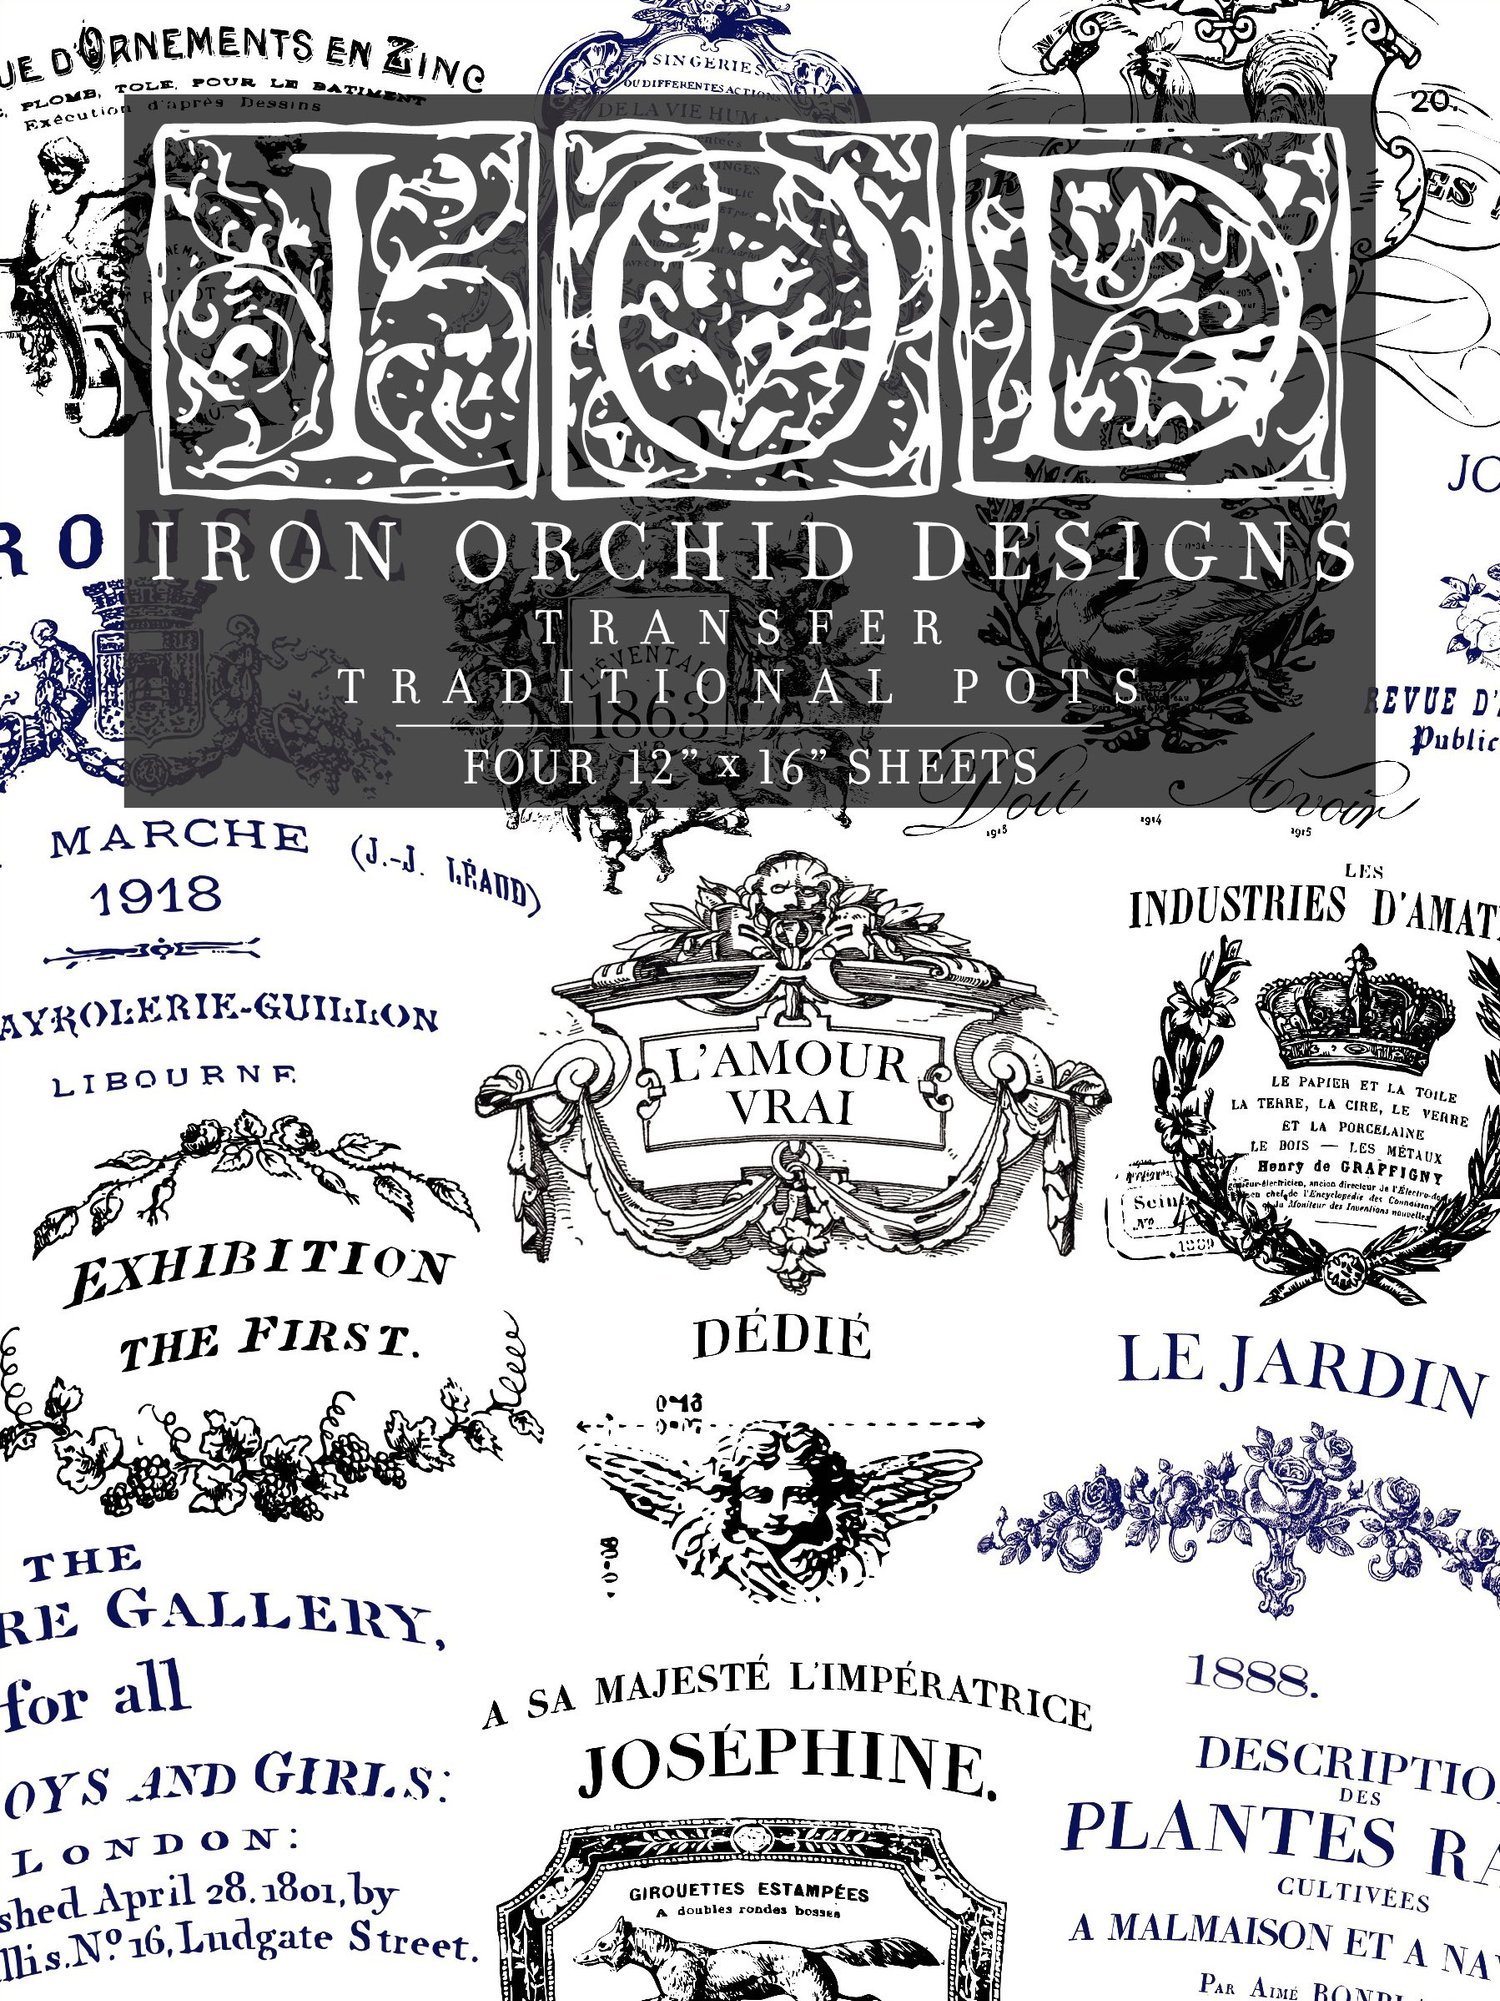
Of course, I wanted to add something to the pots so I used an IOD Transfer on the big container.
This is the IOD Transfer Collection - Traditional Pots.
I love this collection because you get 2 sheets of black, 1 sheet of blue and 1 sheet of white labels!
First, I select the transfer I want to use.
Next, I cut out the transfer.
Then, I remove the white backing sheet.
Next, I center the transfer on the pot where I want it to be placed.
Then, I used my transfer tool to press the transfer into the container.
The final step is to slowly lift the clear transfer sheet up off of the transfer.
For the small pot, I chose a new stamp and followed the same steps as above.
I thought it would be fun to add an IOD Stamp to the smaller pot.
First, I chose the IOD Stamp Collection - Alphabellies.
Then, I laid my stamp upside down on a thin mount so that I could easily transfer it to the pot.
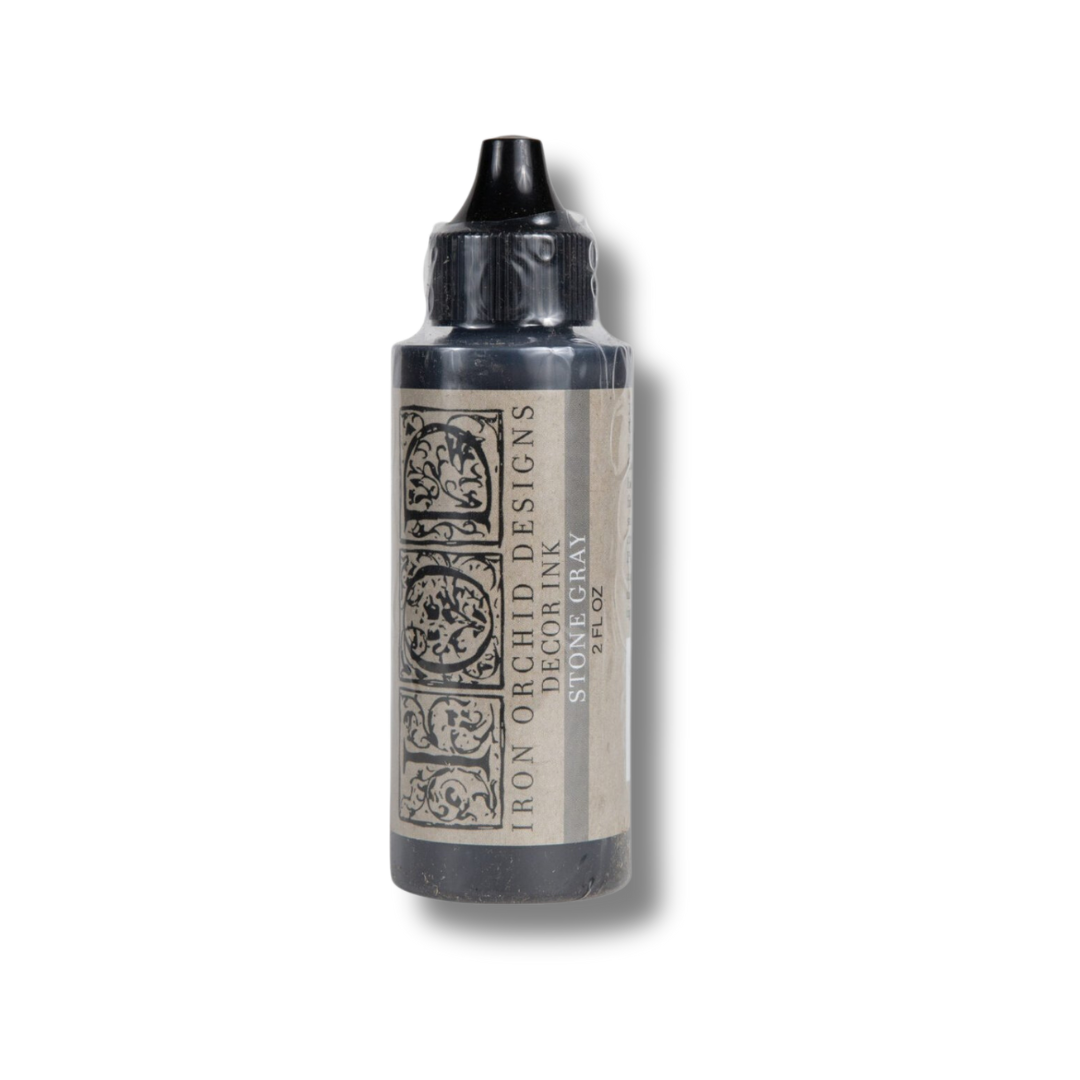
Next, I applied Stone Gray Ink to an empty ink pad and pressed that onto my stamp.
Lastly, I flipped the thin mount over, centered the stamp and pressed it into the pot below where the transfer was placed.
I must have had leftover green ink on my stamp because when I pressed it down it came out beautifully as a green/gray design.
This was totally a happy accident but now I think I want to try this technique more in the future. I have never mixed ink this way on a stamp and I love it!
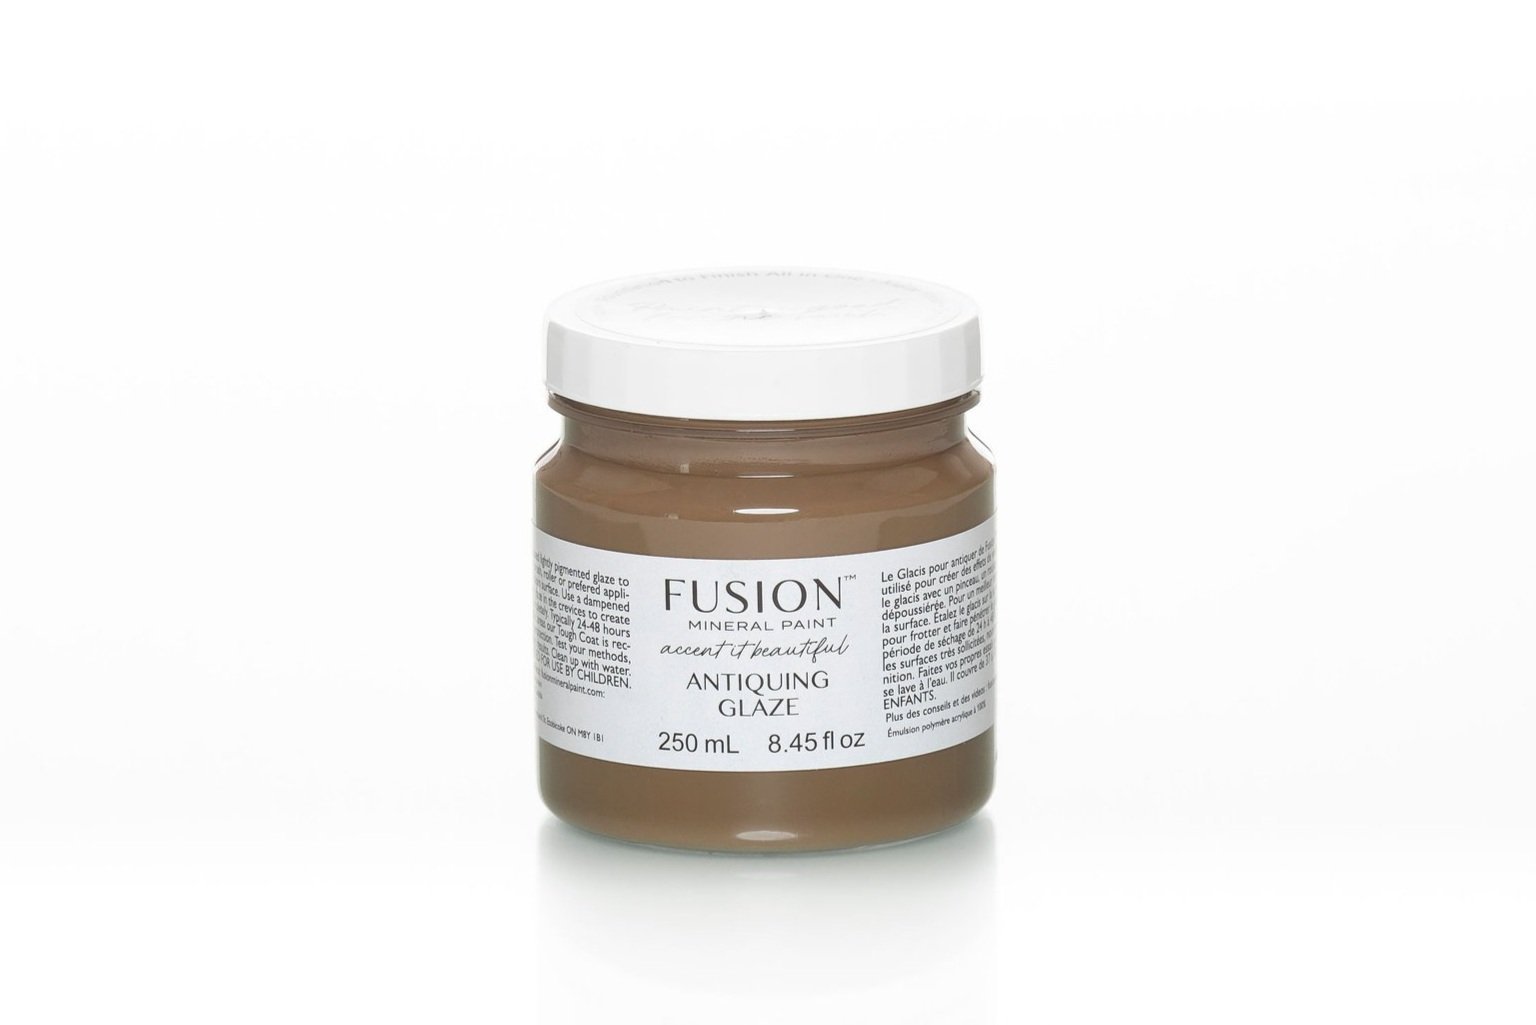
I wanted the brush texture to stand out on this pot so I decided to apply Fusion Antiquing Glaze to the entire pot.
Then, I used a dry paper towel to wipe off the excess.
To make the center a little bit whiter than the top and bottom edges, I used a wet baby wipe to remove some of the antiquing glaze from that area.
Next, I grabbed some faux floral so that I could style my floral arrangements.
I decided to keep the smaller pot bright white because it looked best paired with the floral that I chose.
I applied hot glue to the center of the foam. Then, I added my greenery into the foam where I placed the hot glue.
For the larger pot, I thrifted some beautiful greenery.
I cut up different sprigs that I could stick into the foam.
First, I placed the greenery into the center of the pot. You may have to rearrange a few pieces until you like how it looks.
Lastly, I added hot glue to the top of the foam and then I placed the moss on top.
& that’s it! How fun was that?
Keep scrolling so you can see all of the other floral arrangement pots I created!
Which one is your favorite? Let me know in the comments below.
Are you ready to create your own? Be sure to share a photo and tag me on social media [@juliesdesignsandsigns] so I can see what you create.
This blog is all about How To Create A Floral Arrangement Using IOD Transfers & IOD Stamps!
Click Image To Shop

What Is The Colors Of The Month Club?
Don’t forget to join the Colors of the Month Club to receive (4) sample Fusion Paint colors I picked that are perfect for the current season! → Click here to learn more
Like what you see? Be sure to join our mailing list for weekly DIY Ideas, thrift flips, new product alerts, video announcements, live events & more!
DISCLAIMER: This blog post may contain affiliate links. If you purchase a product or service with the links provided I may receive a small commission. There is no additional cost to you. Thank you for supporting my blog so I can continue to provide you with free content each week!


Transforming Your Thrift Store Finds Into High End Decor With The New Spring IOD Stamps and Moulds