
Resin Crafts for Beginners | How To DIY A Thrifted Book
**This post contains affiliate links for your convenience. I may earn a small commission if you make a purchase from these links.**
If you're someone who loves the charm of vintage-inspired home decor but cringes at the hefty price tags, then you're in for a treat.
I am all about turning old treasures into new treasures, and today's creation is an affordable DIY that anyone can do!
In this blog, I took forgotten, weathered books from the thrift store shelves and transformed them into stunning pieces of decor that will add character and style to any space. And the best part? You don't need to be a seasoned DIY expert to pull off these projects. Whether you're a beginner dipping your toes into the world of crafting or a seasoned pro looking for your next creative project, this DIY is made for you.
In this blog, I will show you How To DIY A Thrifted Book Using Resin Castings!
Below is a list of the items you will need to recreate this project:
Thrifted Book
(2) plastic cups for mixing
Amazon Casting Resin (also known as Alumilite White Resin)*
Vintage Lace Scraps
*Product can be purchased directly through my website [www.juliesdesignsandsigns.com]
Scouring through the shelves of the Goodwill bins, I found this weathered book that was missing it’s binding. I knew it would be perfect to add a little bit of vintage detailing.
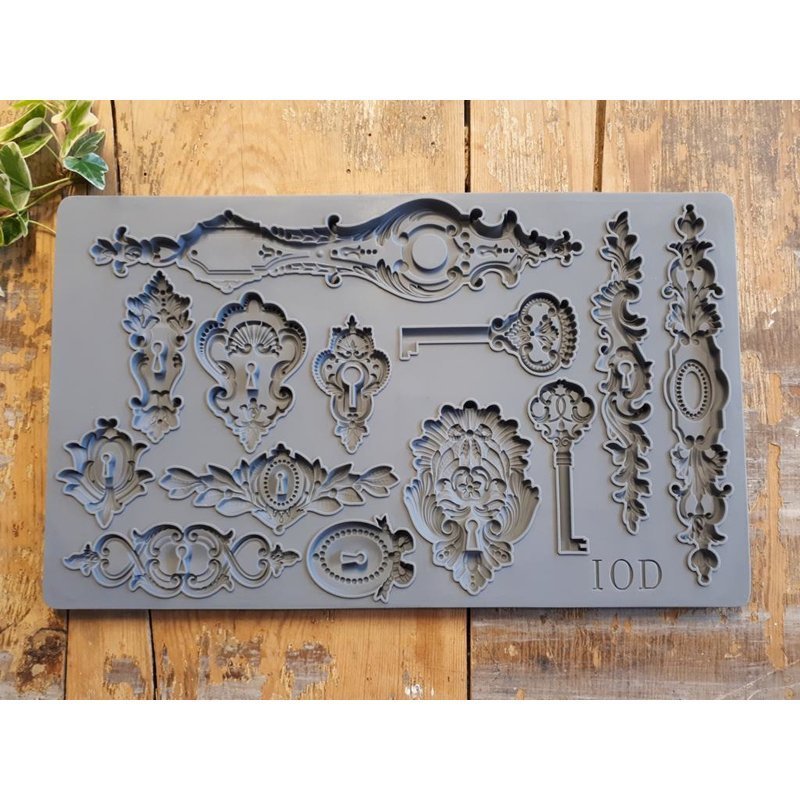
I have been wanting to DIY using resin and IOD moulds and this seemed like the perfect way to do it!

First, I started by selecting an IOD Mould. For this project, I went with the Lock And Key Mould.
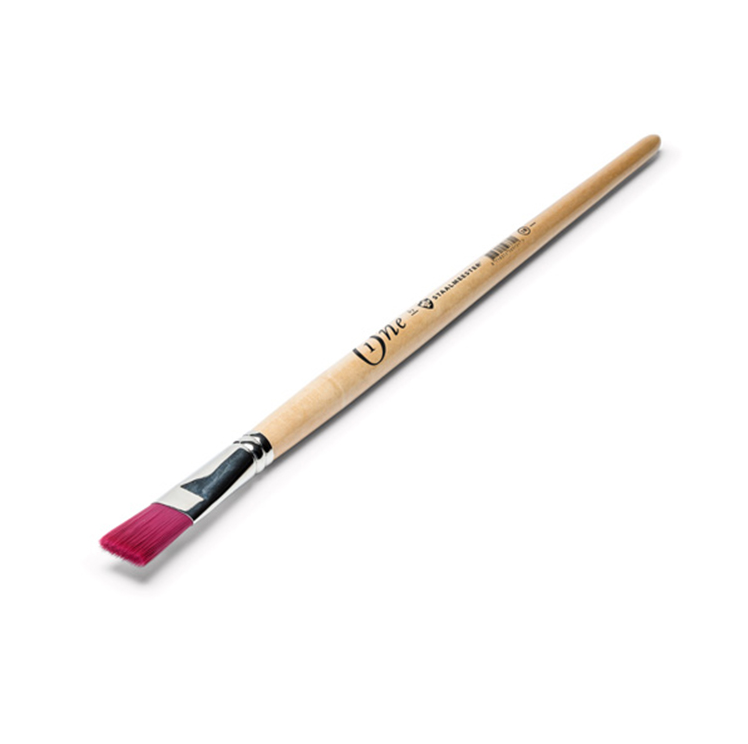
Then, I grabbed two plastic cups so I could begin to mix my resin.
I use Amazon Casting Resin (also known as Alumilite White Resin). This resin is known for its reliability and smooth finish.

The resin comes in two different bottles — A and B.
To mix - combine equal parts A and equal parts B into a mixing cup.


This is a fast acting resin so you do not have much time once you mix them together. Using a wooden stir stick, mix the resin together.


Next, pour the resin into the moulds.

It will take approximately 10 minutes for your resin castings to cure.
This resin hardens in a white hue. This is perfect if you desire a bright white finish.
Fun Fact: Resin is also a fantastic option for outdoor projects due to its durability and hardening properties.

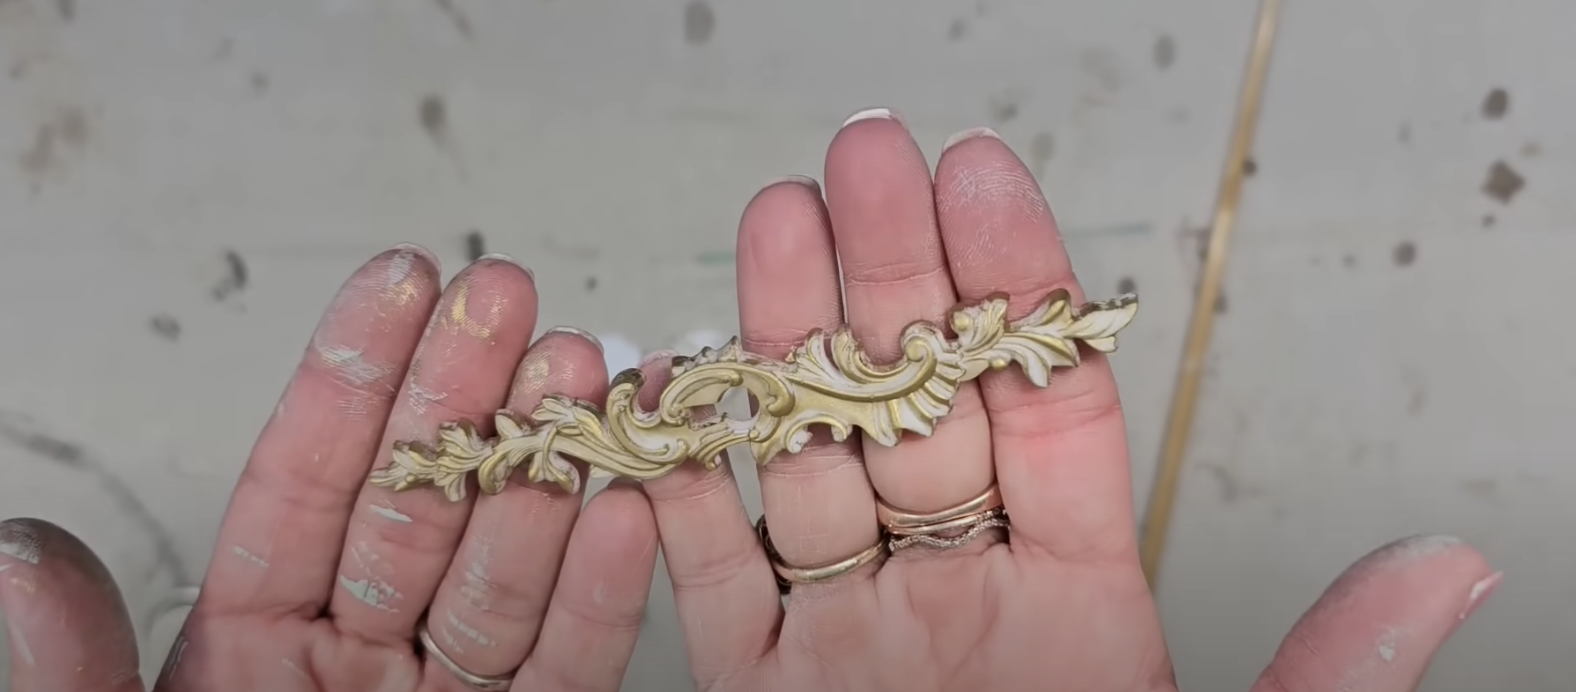
After about 5 minutes, I popped the resin pieces out of the moulds. At this point, they are still a little bit flexible so I can easily apply them to curved surfaces.

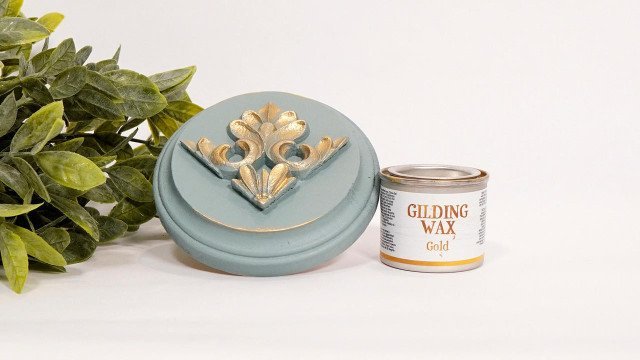
Since my book has some white and gold on it, I decided to dry brush Dixie Belle Gold Guilding Wax onto the resin keys.


As you can see, the gold adheres to the raised parts of the keys. I think it has the perfect mix of gold and white.


I applied a little bit more gold to the longer mould.
Next, I used my hot glue gun to attach this piece of resin to the binding of the book.

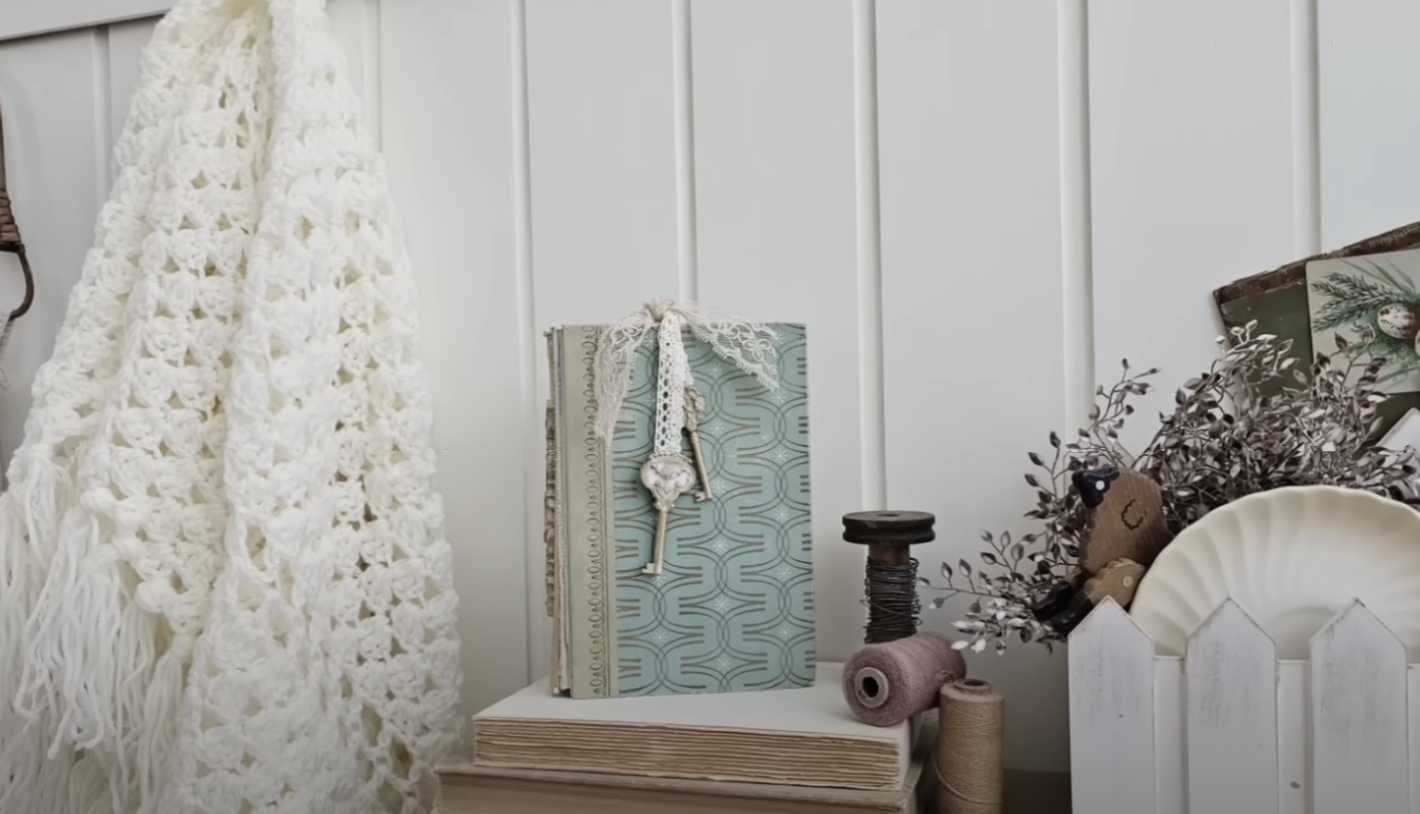
To add the keys into the design, I grabbed scrap pieces of lace and hot glued the keys to either end.


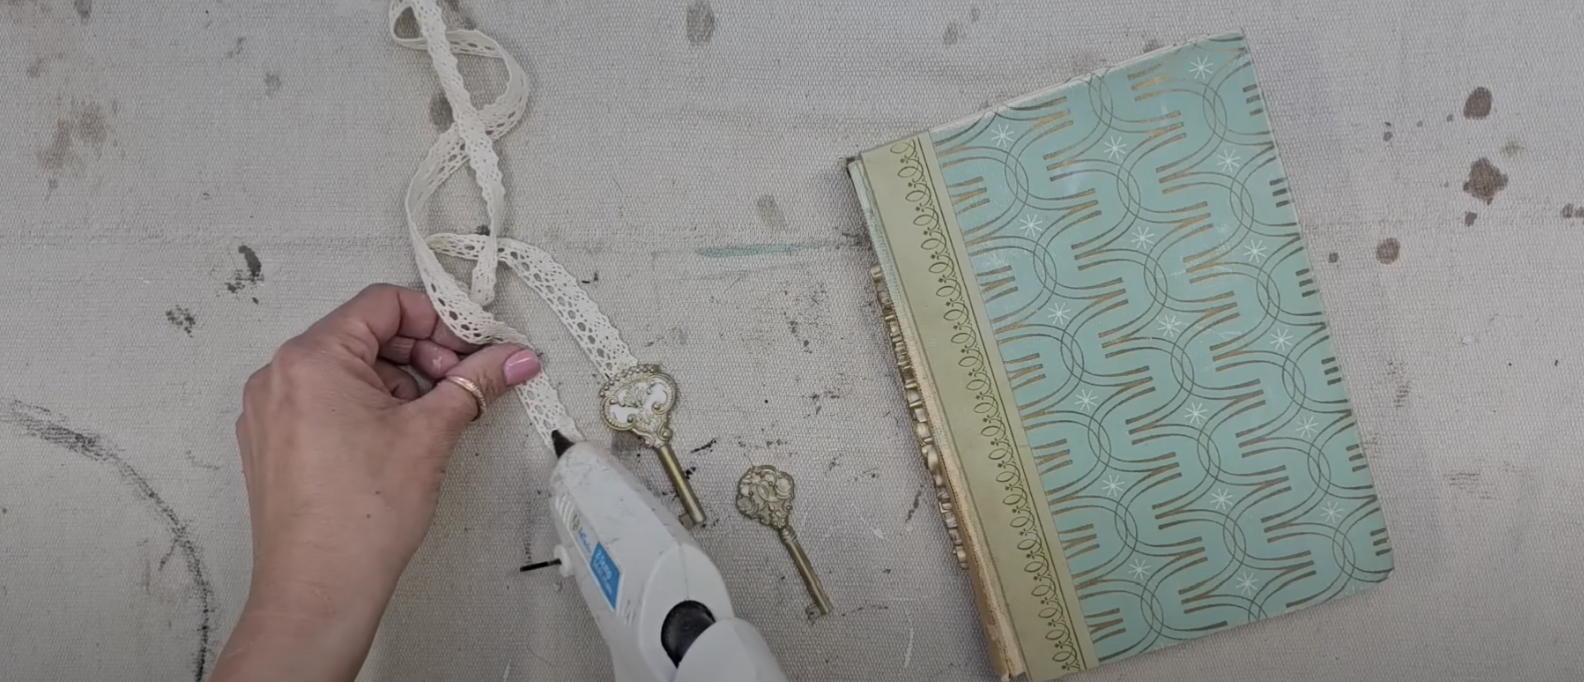
Once the keys and the lace were attached, I tied the lace ends into a knot.
Then, I closed the knot inside of the book like a bookmark.

This allowed the lace and keys to drape across the front of the book beautifully!
You could style this upright as a bookend on your shelf or lay it flat on a stack of vintage books.
How would you style this in your home?
And don’t forget, you can try this same DIY in many different ways:
Try different IOD Moulds for bookmarks
Paint the book covers
Create multiple and stack them

Are you ready to create your own? Be sure to share a photo and tag me on social media [@juliesdesignsandsigns] so I can see what you create.
This blog is all about How To DIY A Thrifted Book Using Resin Castings!
Click Image To Shop

What Is The Colors Of The Month Club?
Don’t forget to join the Colors of the Month Club to receive (4) sample Fusion Paint colors I picked that are perfect for the current season! → Click here to learn more
Like what you see? Be sure to join our mailing list for weekly DIY Ideas, thrift flips, new product alerts, video announcements, live events & more!
DISCLAIMER: This blog post may contain affiliate links. If you purchase a product or service with the links provided I may receive a small commission. There is no additional cost to you. Thank you for supporting my blog so I can continue to provide you with free content each week!


Transforming Your Thrift Store Finds Into High End Decor With The New Spring IOD Stamps and Moulds